


AI Object Remover OnlineRemove unwanted objects from photos.

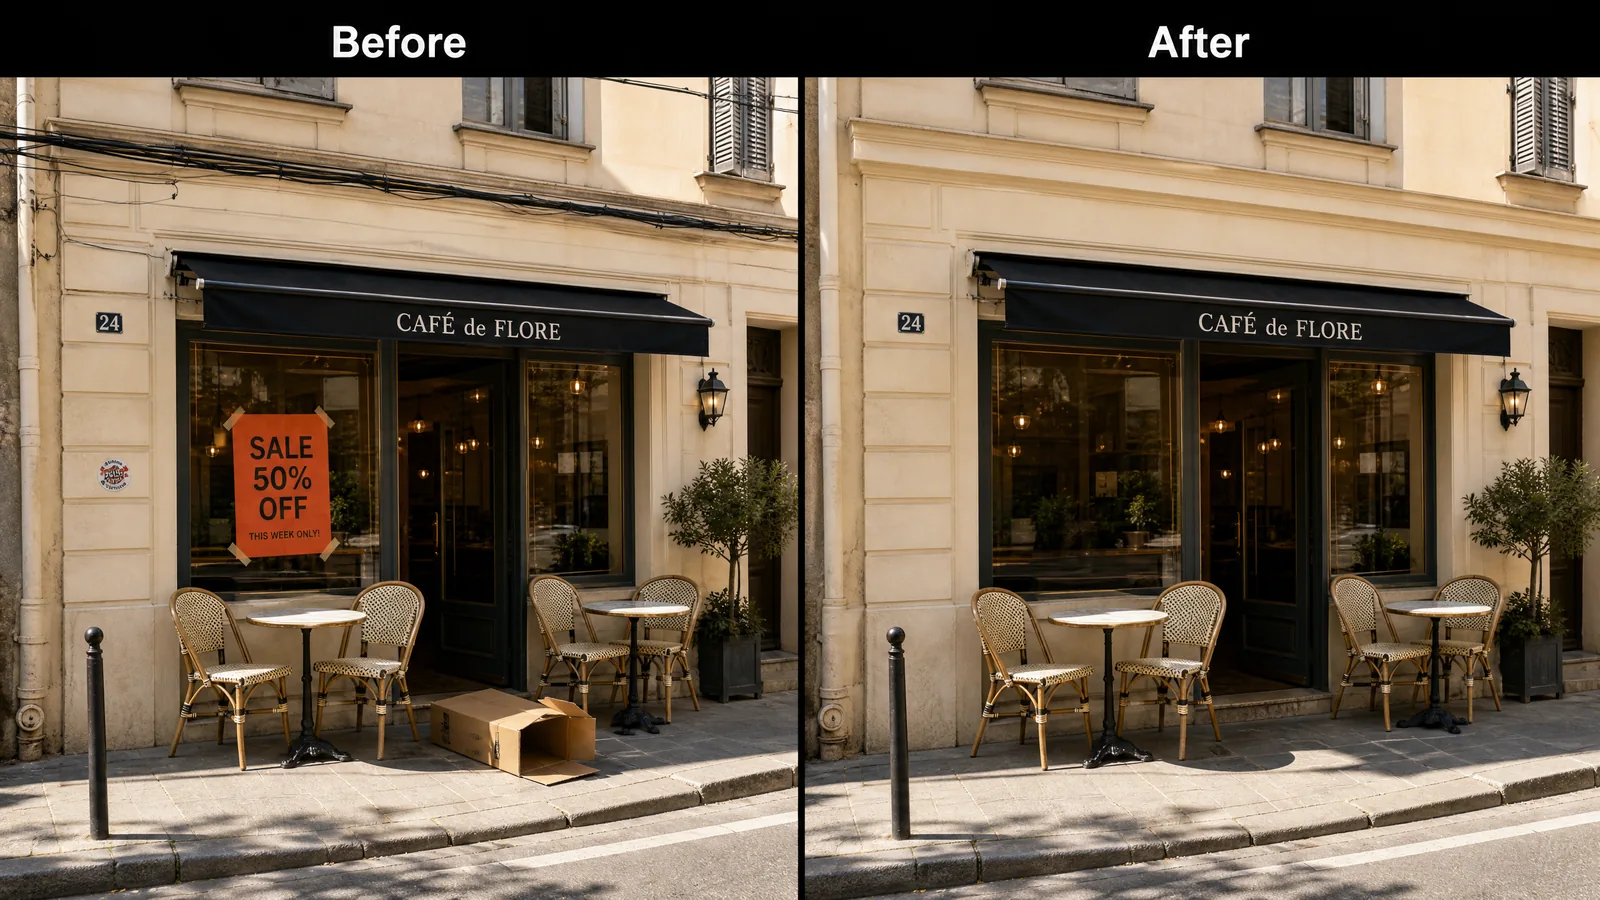
Remove an unwanted object from a photo without cropping the whole frame. Brush over a person, text, logo, watermark, date, or piece of clutter, then compare the selected area with the original before saving.

Upload imageDrag & drop image here
Remove an unwanted object original photo
Remove an unwanted object cleaned result

You choose the areaA visible brush keeps the edit focused.

The original stays availableCompare before replacing any file.

Download when it looks rightNo hidden result or automatic overwrite.

Remove the object without rebuilding the whole photo

An AI object remover should solve the part of the photo that is wrong while giving you a clear way to inspect everything that should stay. The brush defines the area. The original remains visible. The before-and-after view lets you decide whether the cleaned texture, color, shadow, and edges are good enough for the way you will use the picture.

Small objects against visible sky, walls, roads, floors, water, and soft repeating texture are usually the easiest starting point. A large object covering a face, hand, sign, reflection, or unique design needs more careful review because the hidden detail cannot be recovered exactly.

  • Select the complete objectInclude loose edges, thin parts, reflections, and any shadow that belongs to it.
  • Protect what should remainUse smaller strokes near faces, text, product edges, and straight lines.
  • Review at the size you will useCheck the whole scene first, then look closely for a leftover edge or changed pattern.

Before and after examples

Compare real before and after photo results

Each comparison moves automatically. Hover or touch to pause, then drag the divider to inspect the cleaned area.

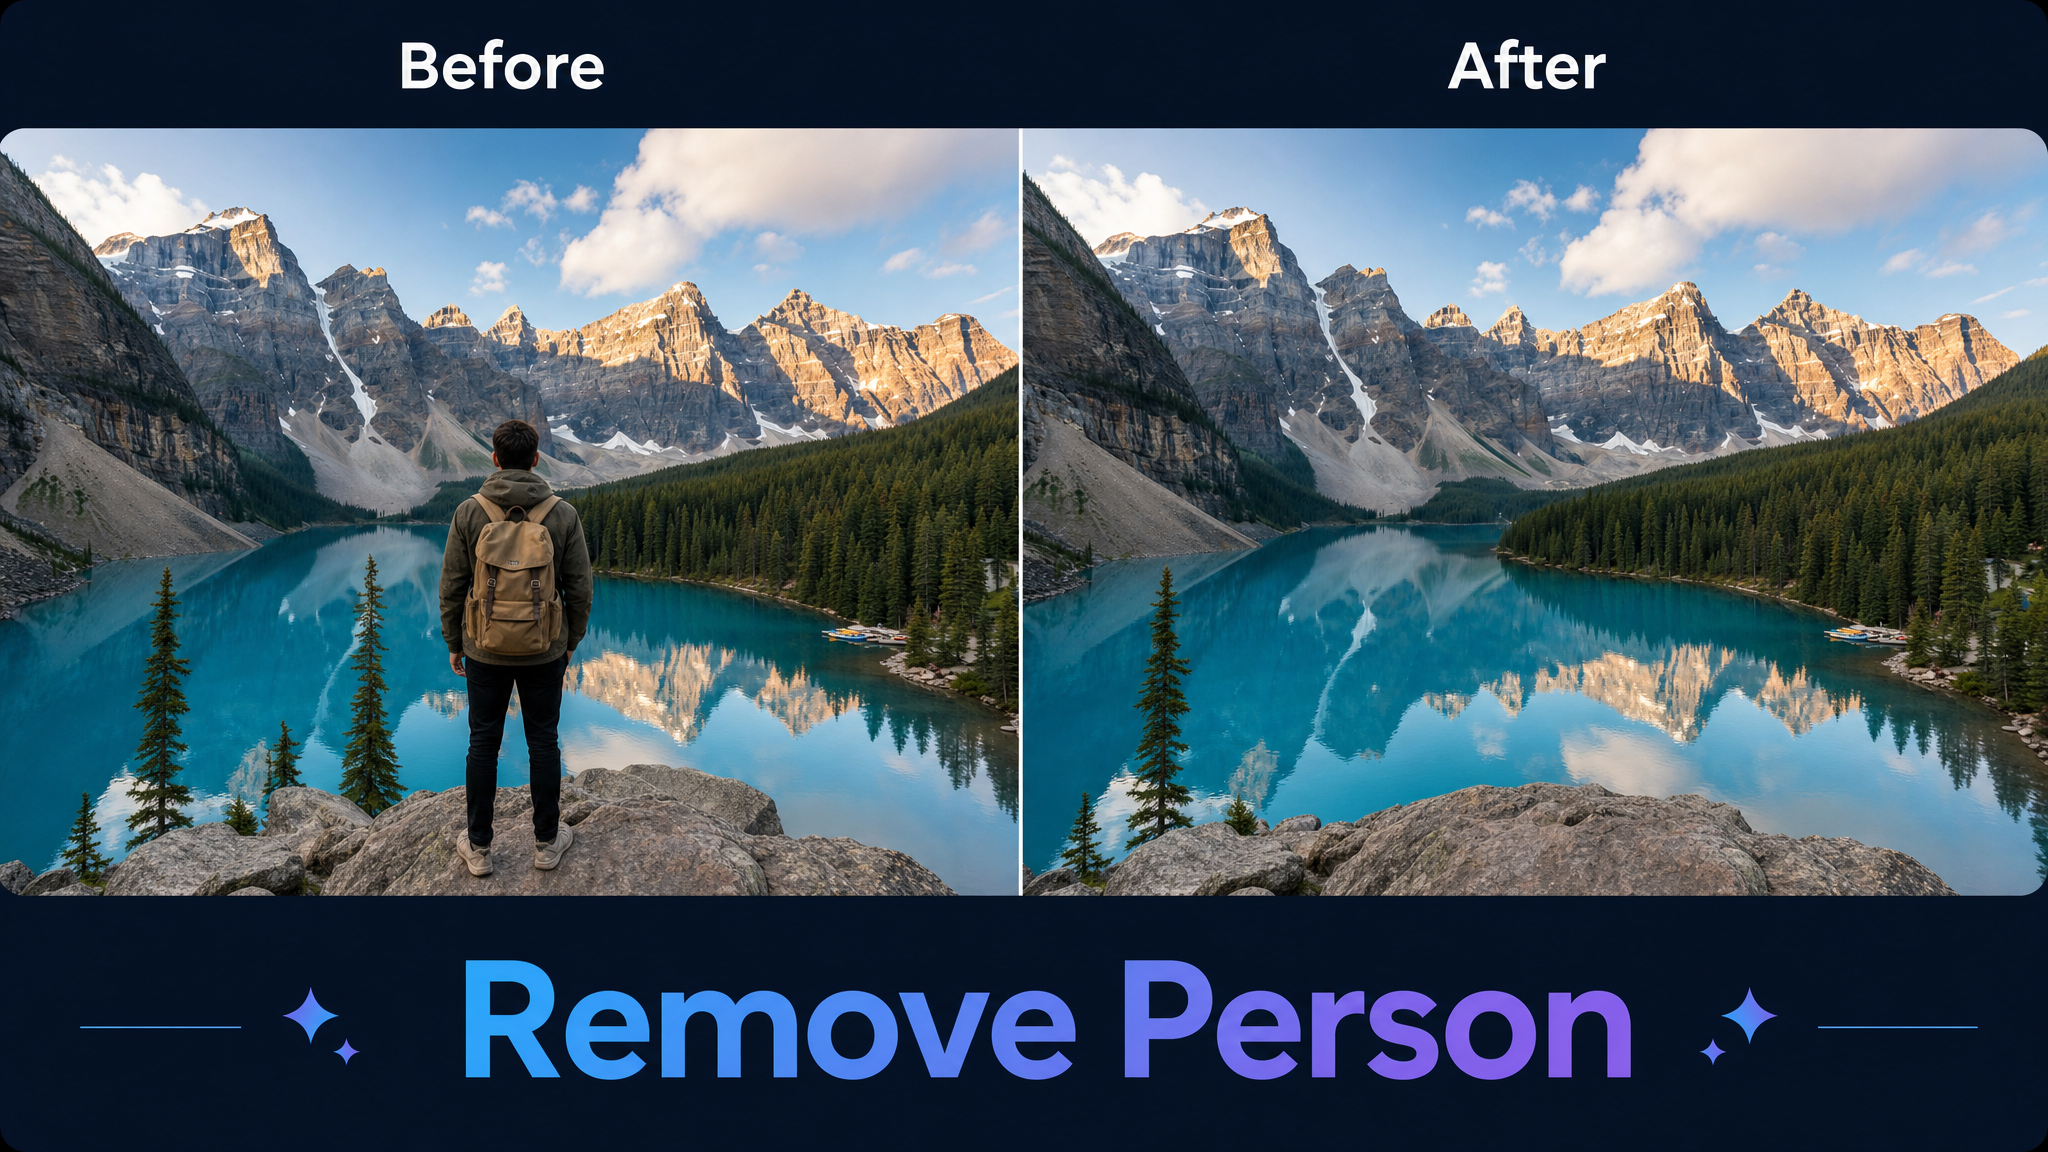
Remove an unwanted object original photo
Remove an unwanted object cleaned result

Remove an unwanted object

The backpack and rope are removed while the dock, reflections, and mountain light stay in place.

  • Select only the object you want to remove.
  • Keep the dock, water, and reflections visible.
  • Compare the cleaned area before downloading.

Remove text from a photo original photo
Remove text from a photo cleaned result

Remove text from a photo

The printed note disappears without changing the cup, cloth, flowers, or warm table shadows.

  • Brush across the complete word or date.
  • Keep nearby product details and textures.
  • Check for leftover letters and shadows.
Remove a background person original photo
Remove a background person cleaned result

Remove a background person

The passerby is cleared while the main subject, waterfront, paving, and buildings remain visible.

  • Cover the complete background person.
  • Keep the main subject untouched.
  • Review paving lines and nearby building edges.
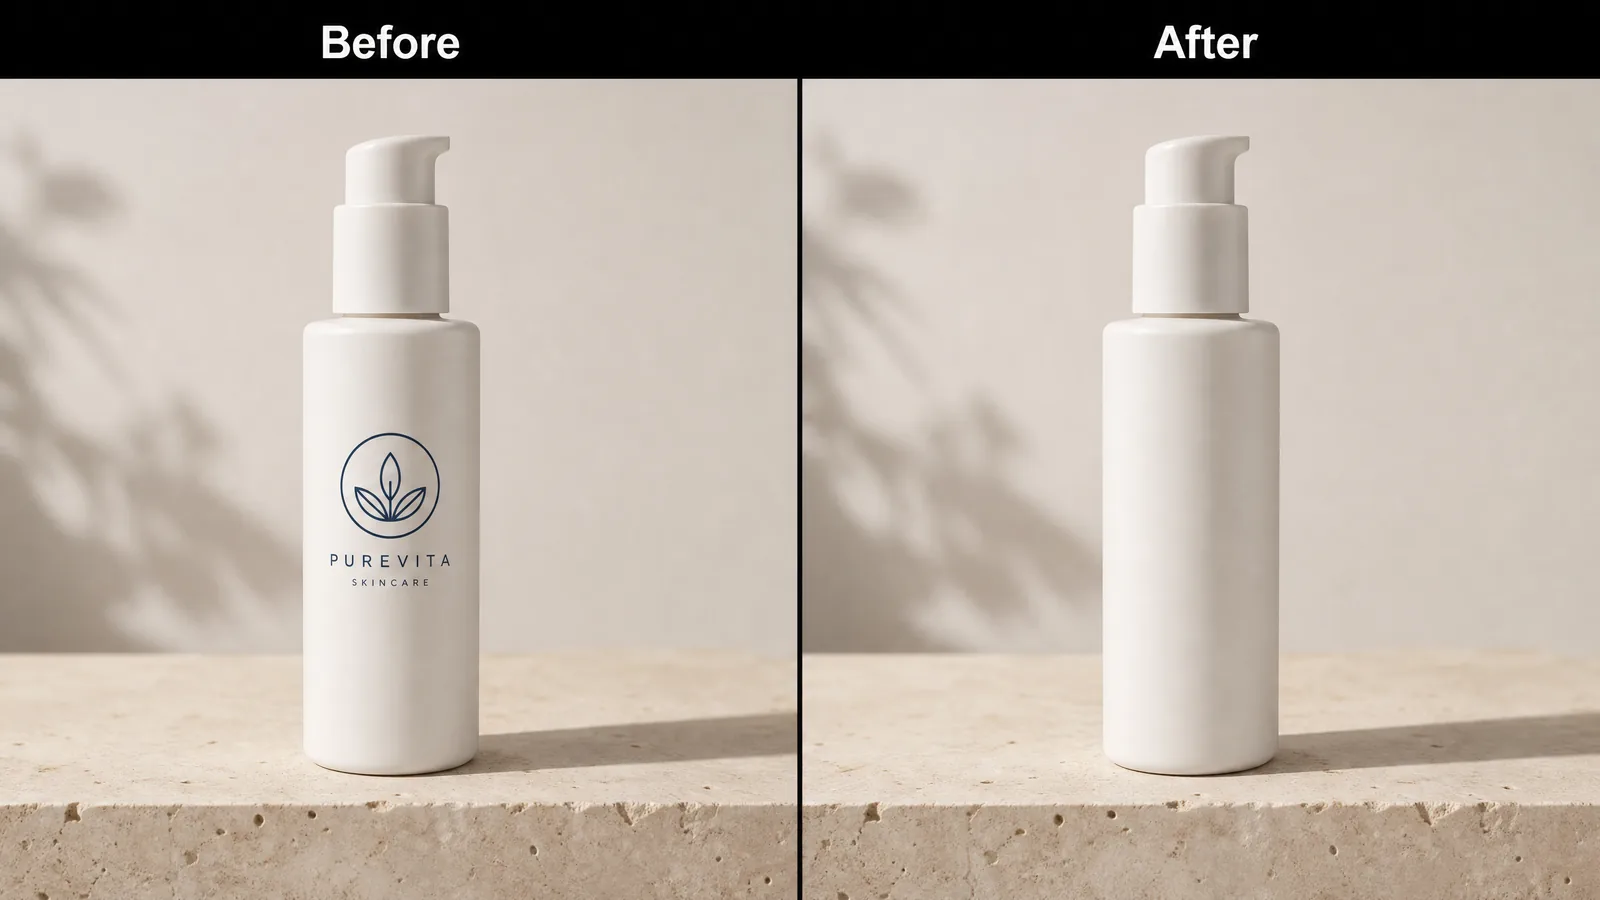
Remove a logo from an image original photo
Remove a logo from an image cleaned result

Remove a logo from an image

The logo is removed from the food photo while the steak, plate, herbs, and table lighting stay clear.

  • Brush over the complete logo and its edges.
  • Keep nearby food details and natural shadows.
  • Inspect the cleaned area before saving the photo.
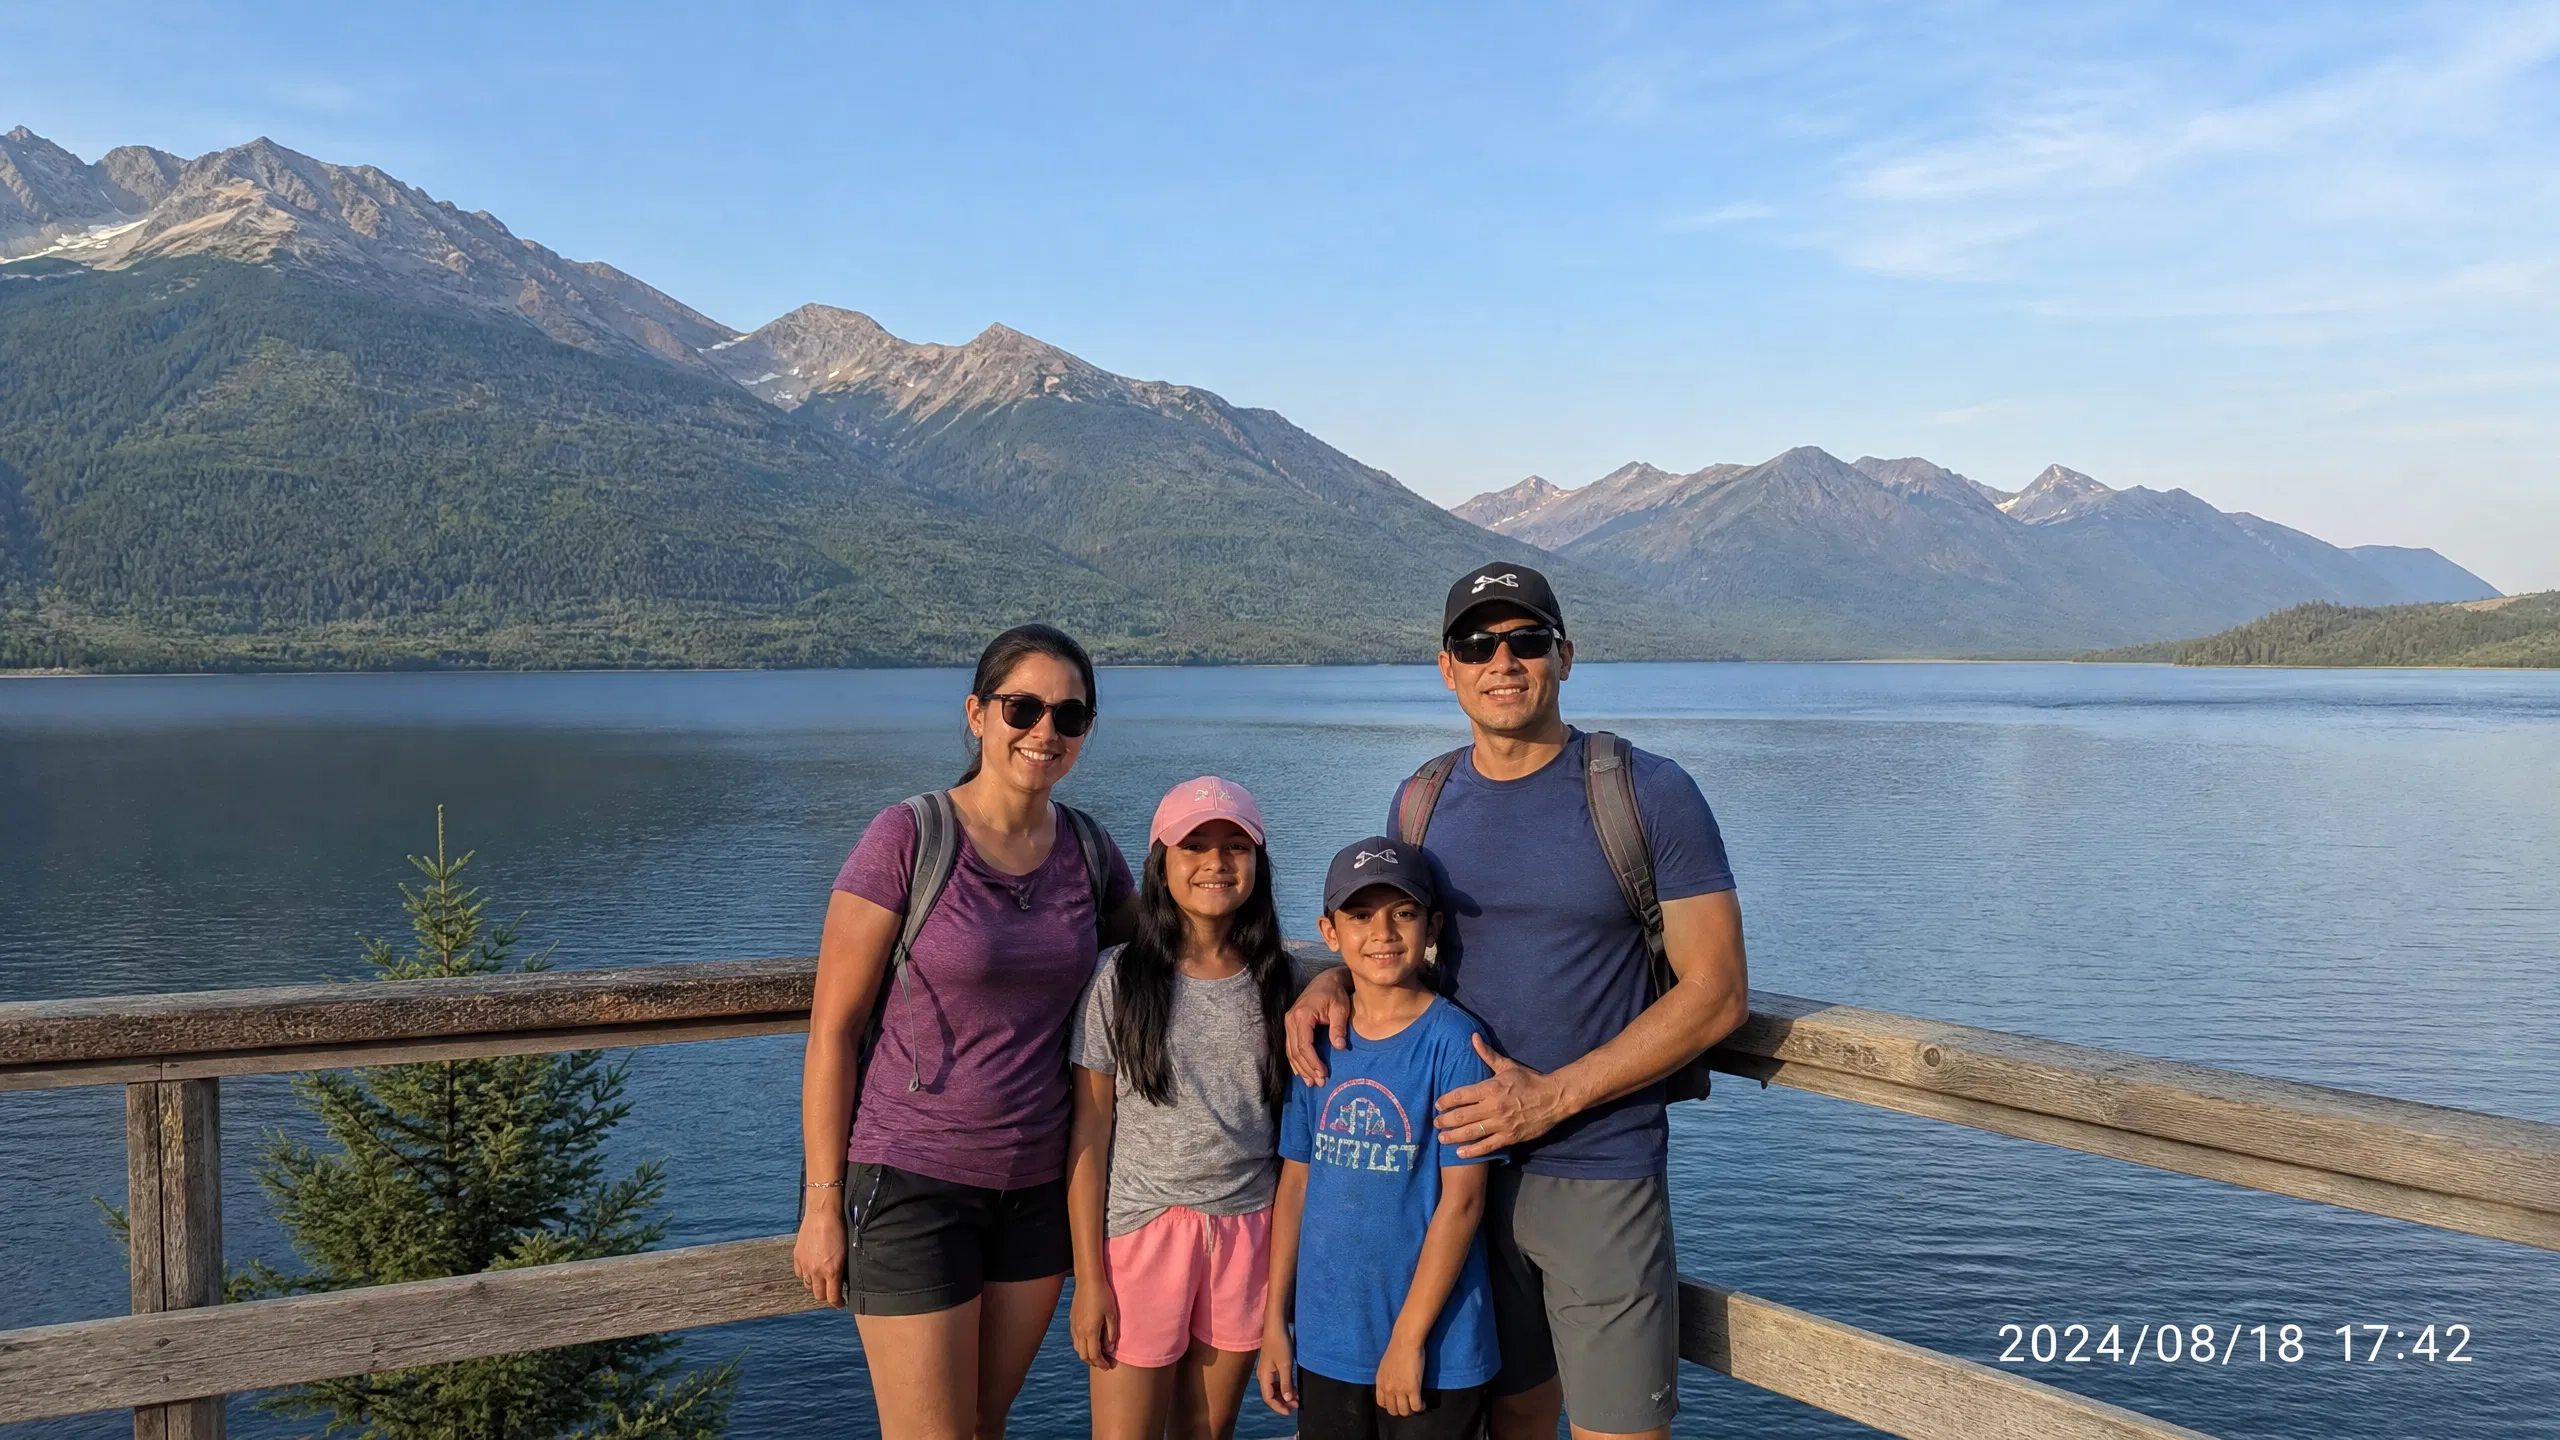
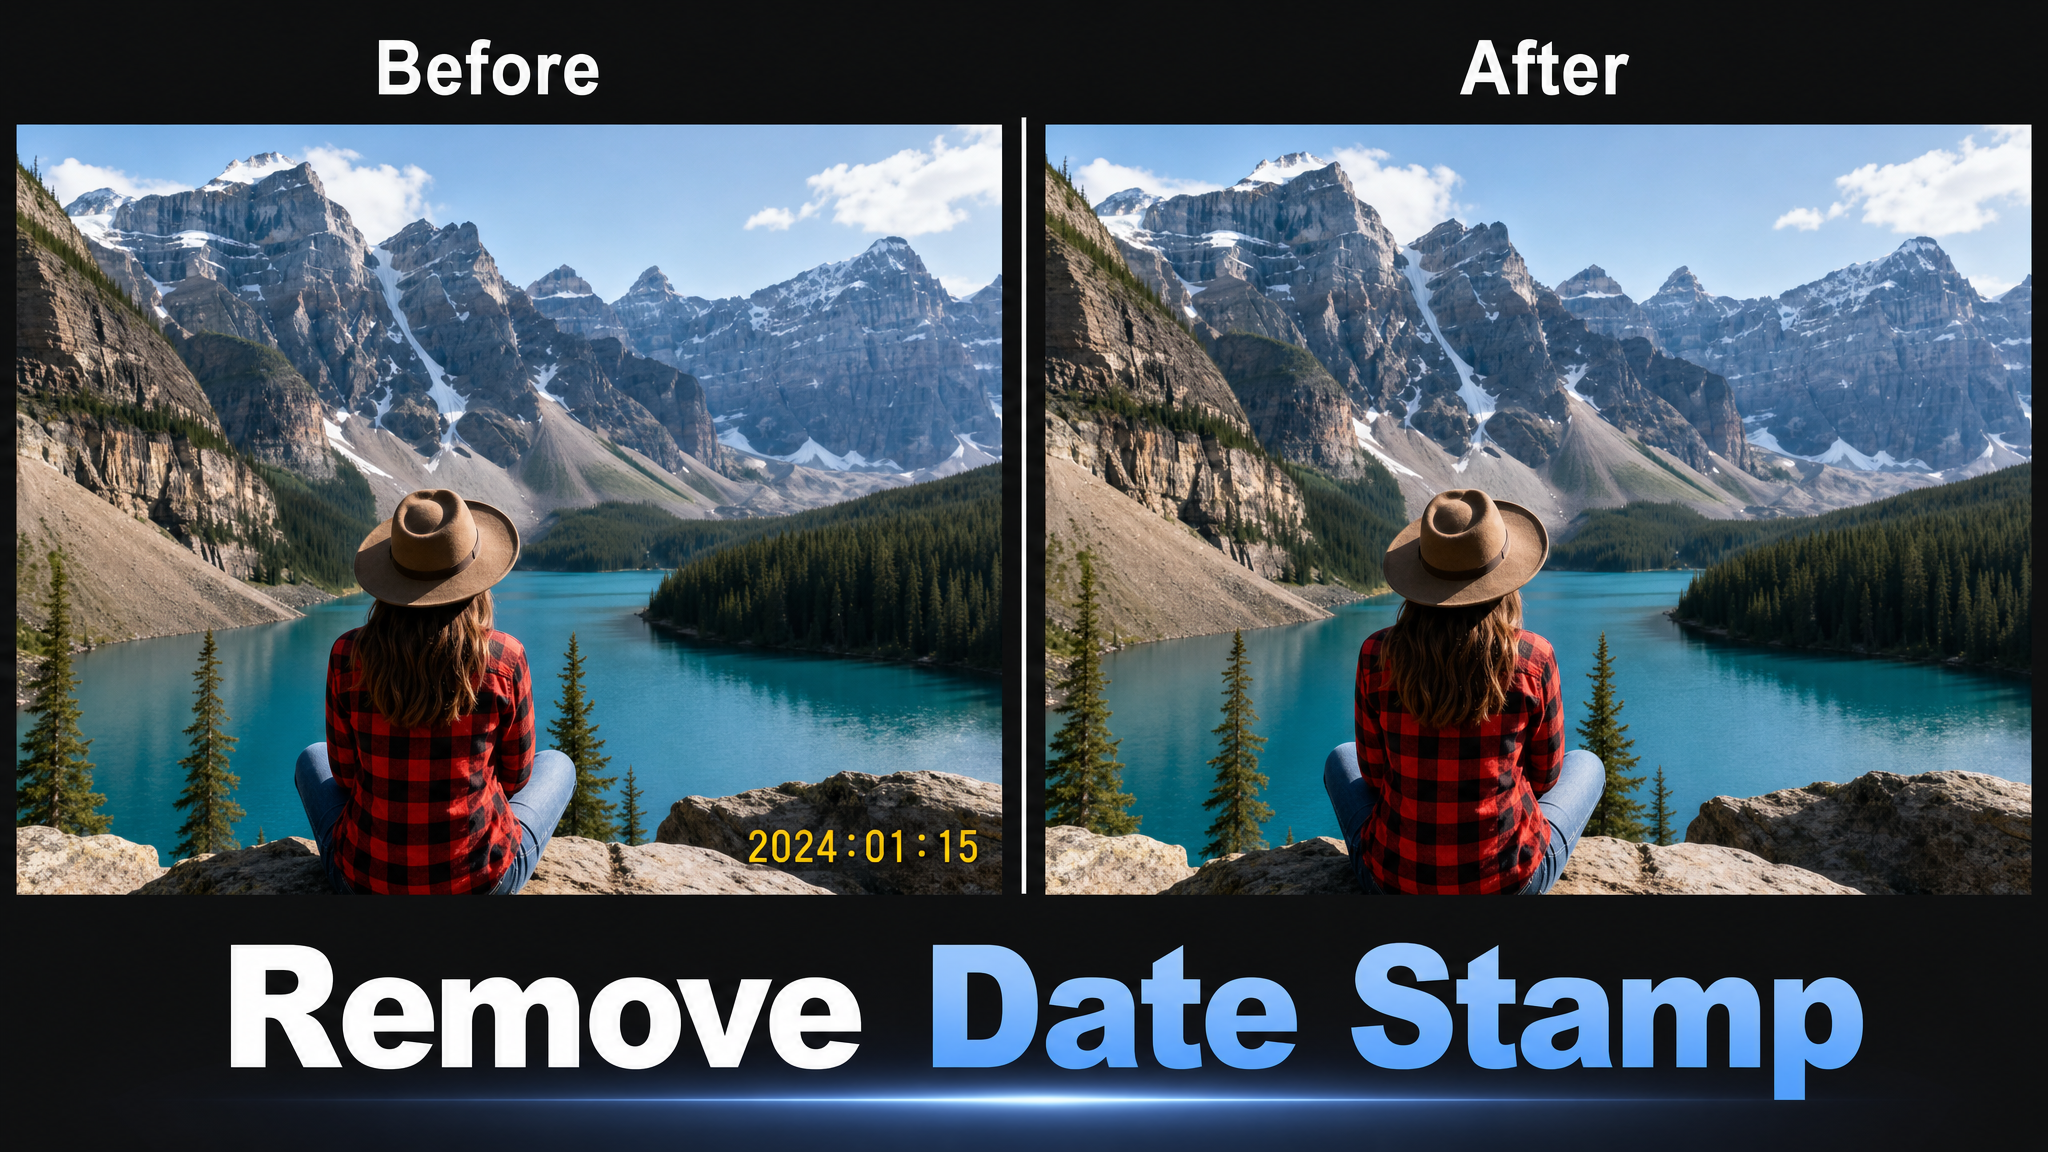
Remove a date stamp from a photo original photo
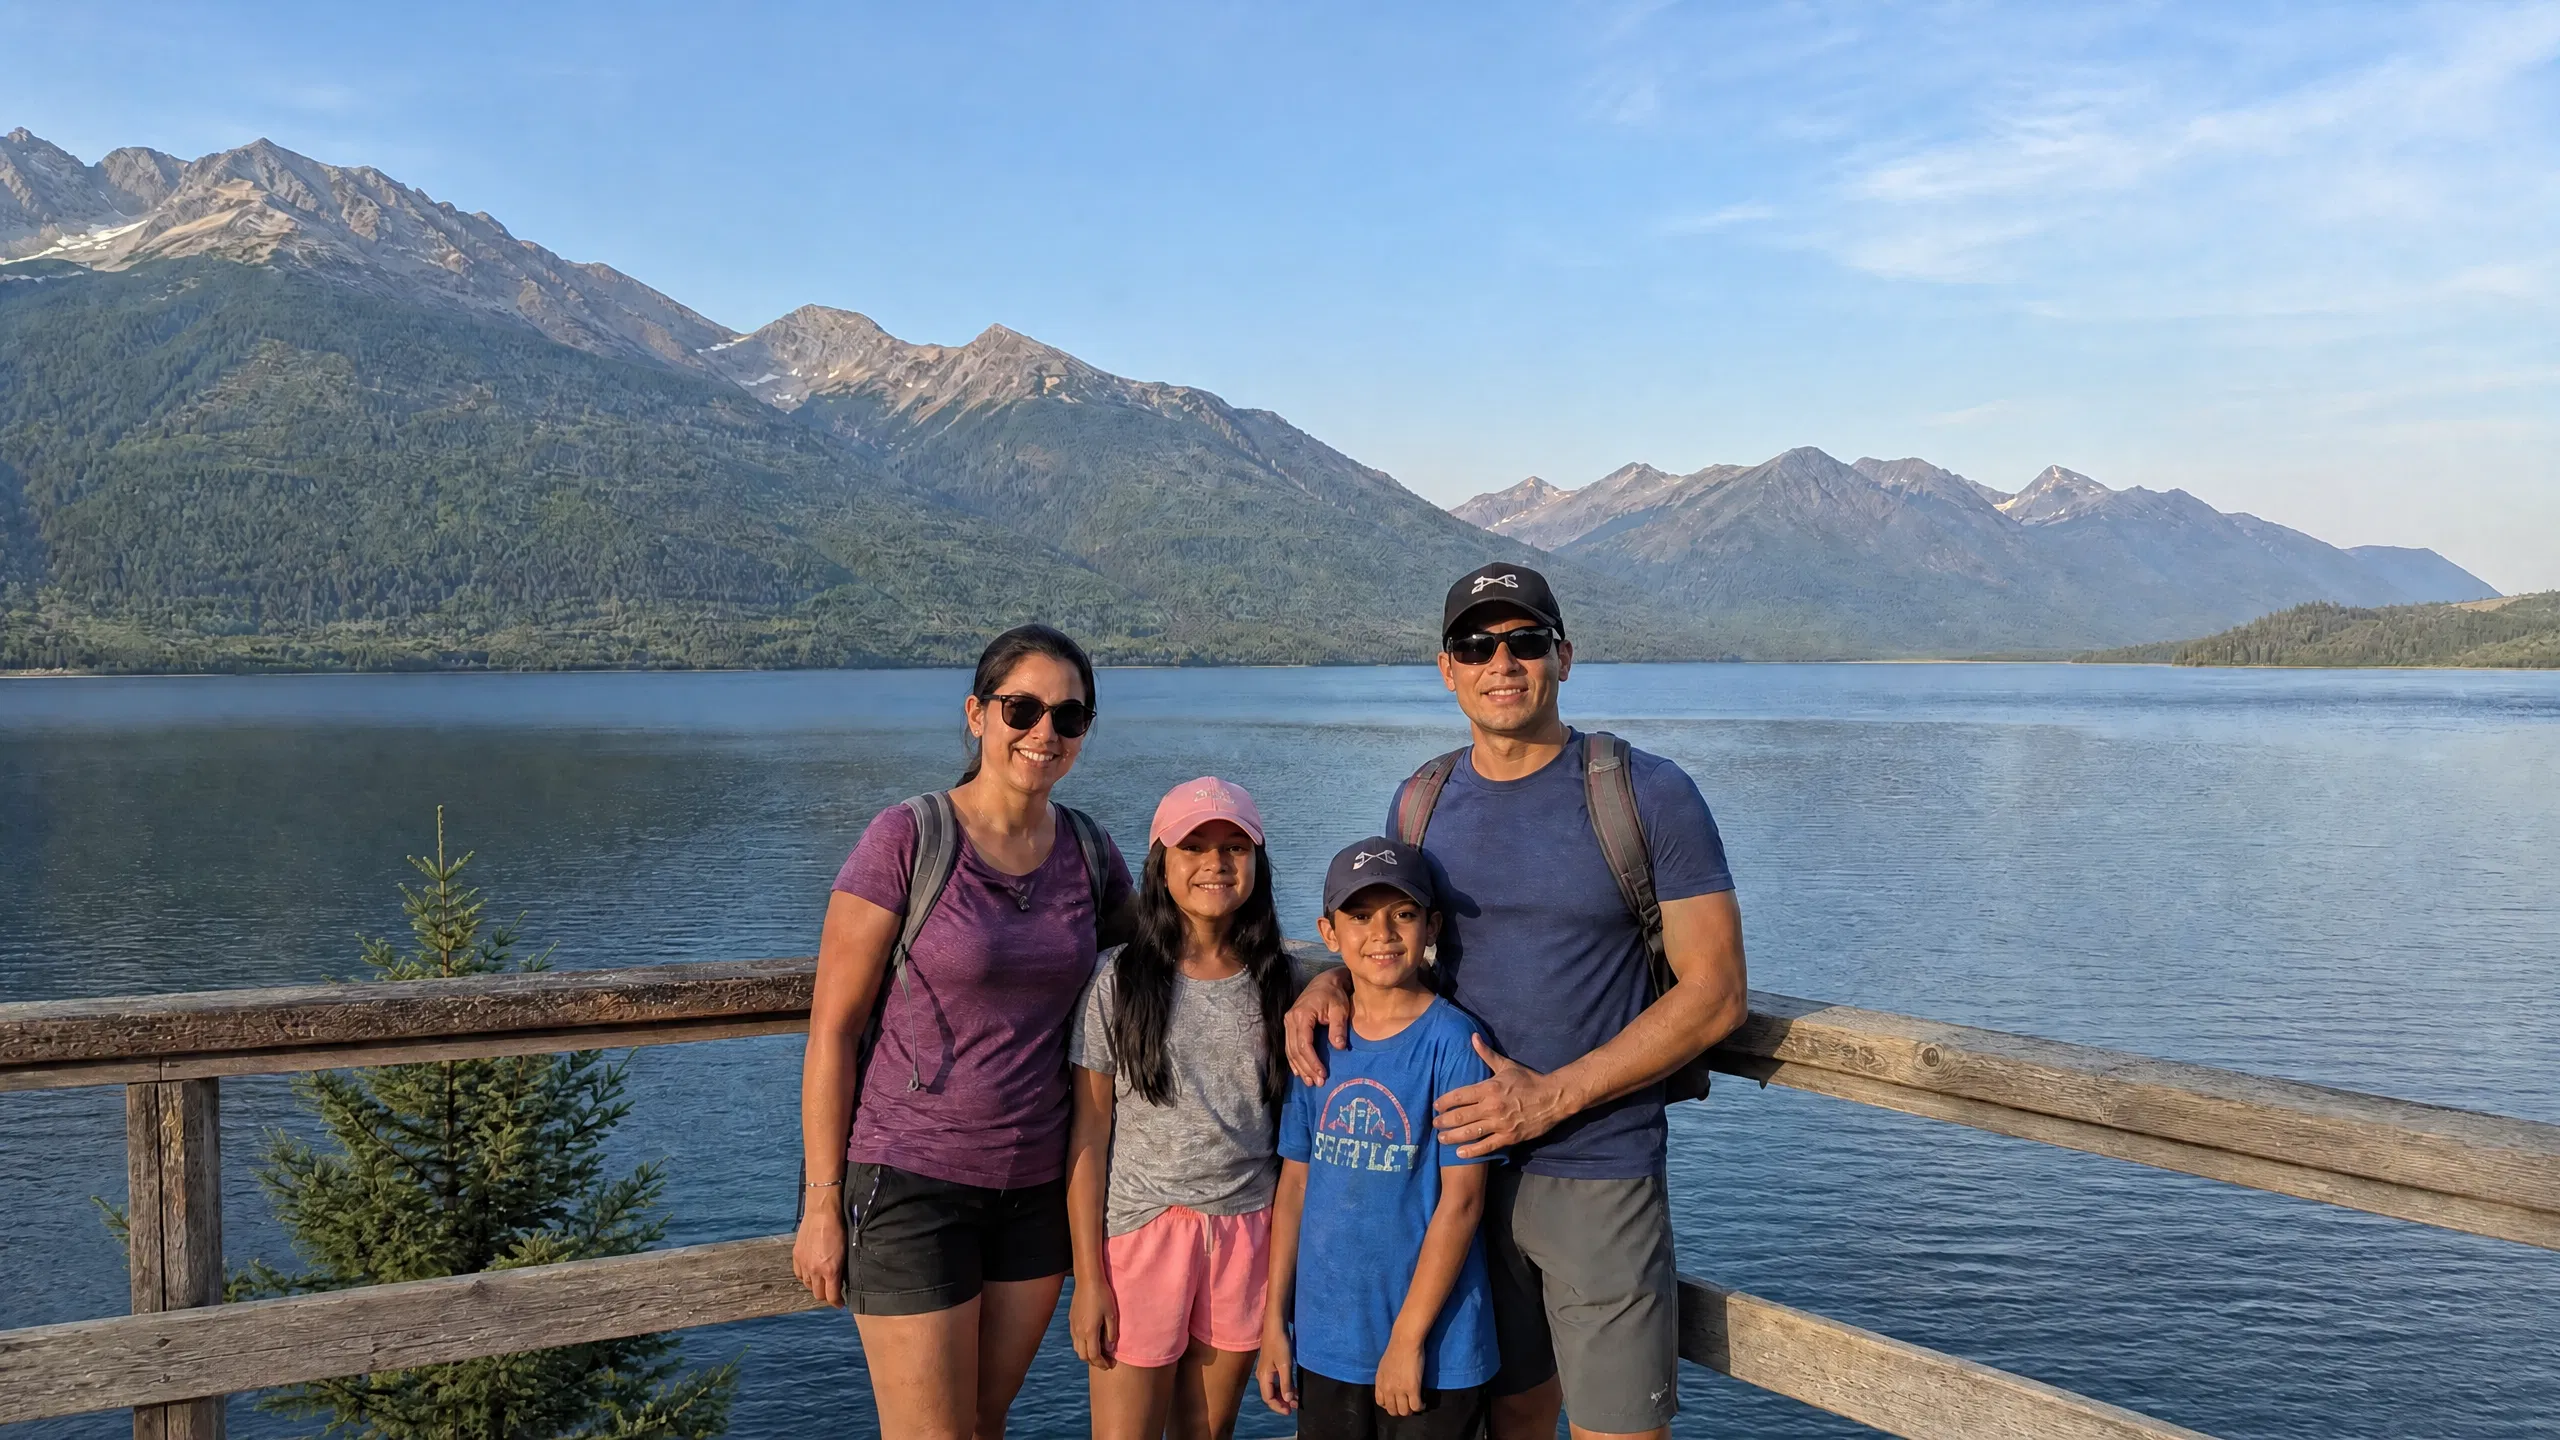
Remove a date stamp from a photo cleaned result

Remove a date stamp from a photo

The camera date disappears while the mountain, clouds, lake, and natural colors remain unchanged.

  • Cover every number in the date stamp.
  • Preserve the landscape behind the timestamp.
  • Check the sky and mountain edges for a clean result.
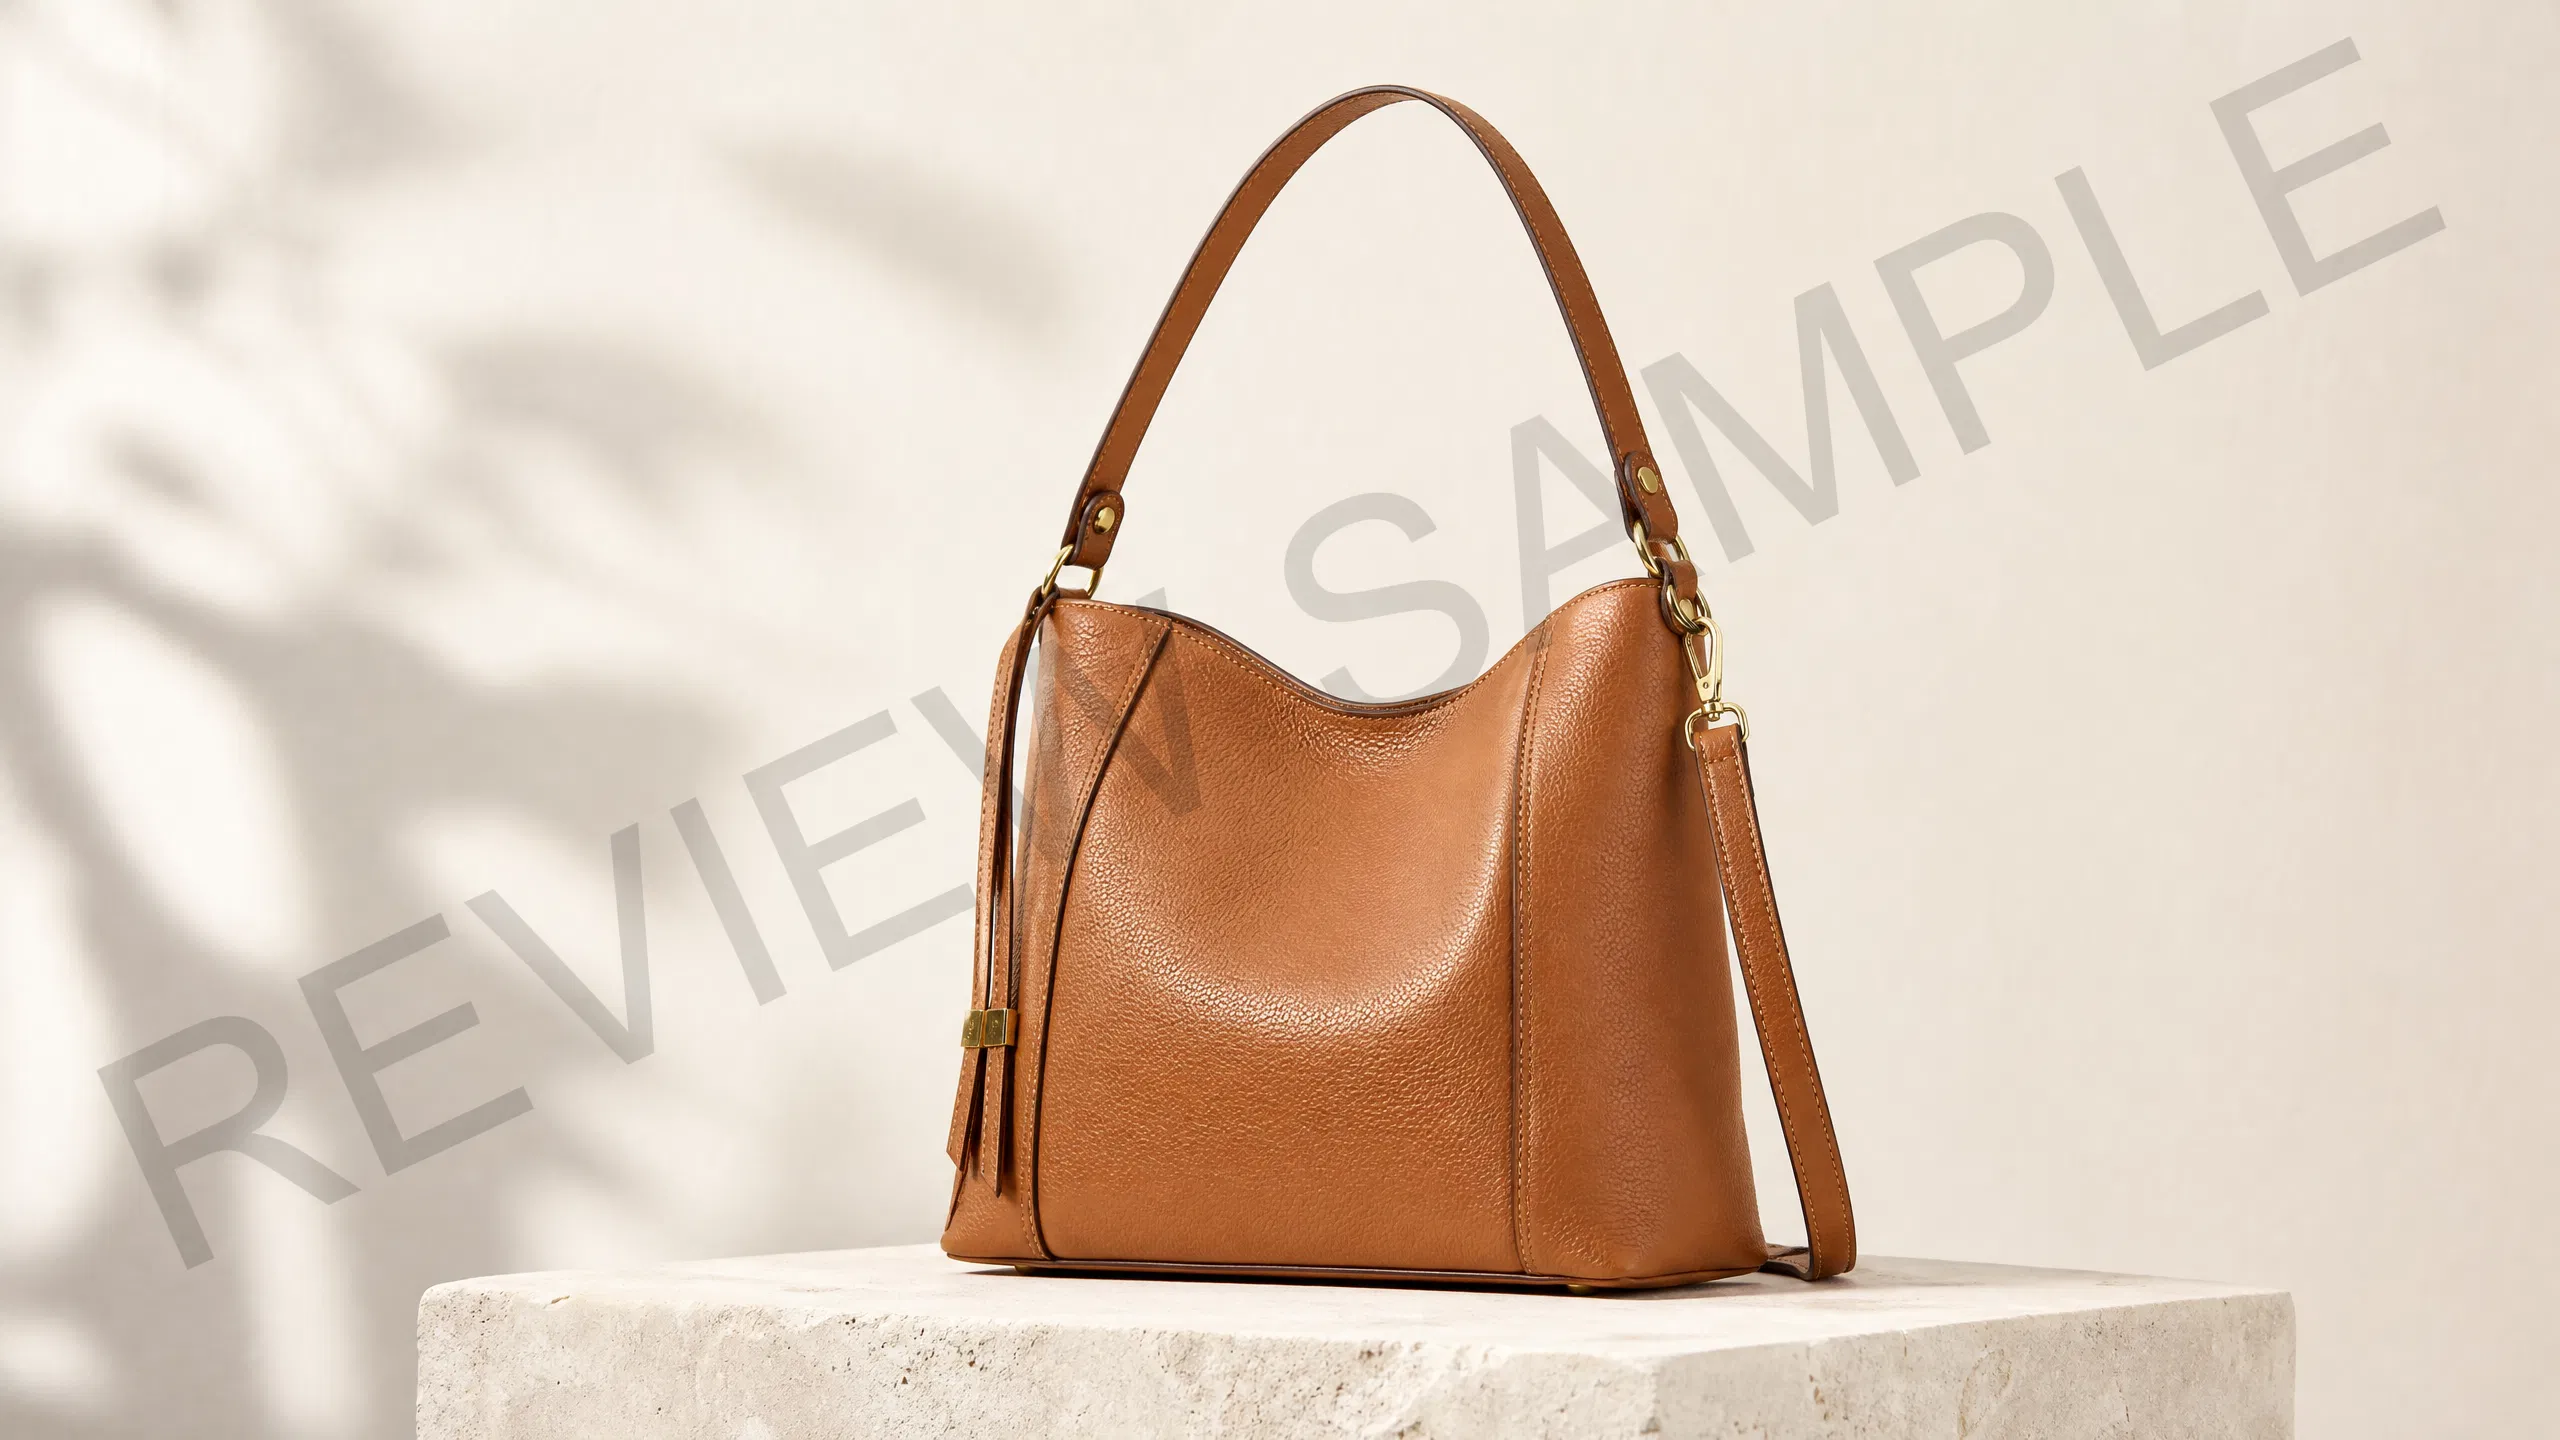
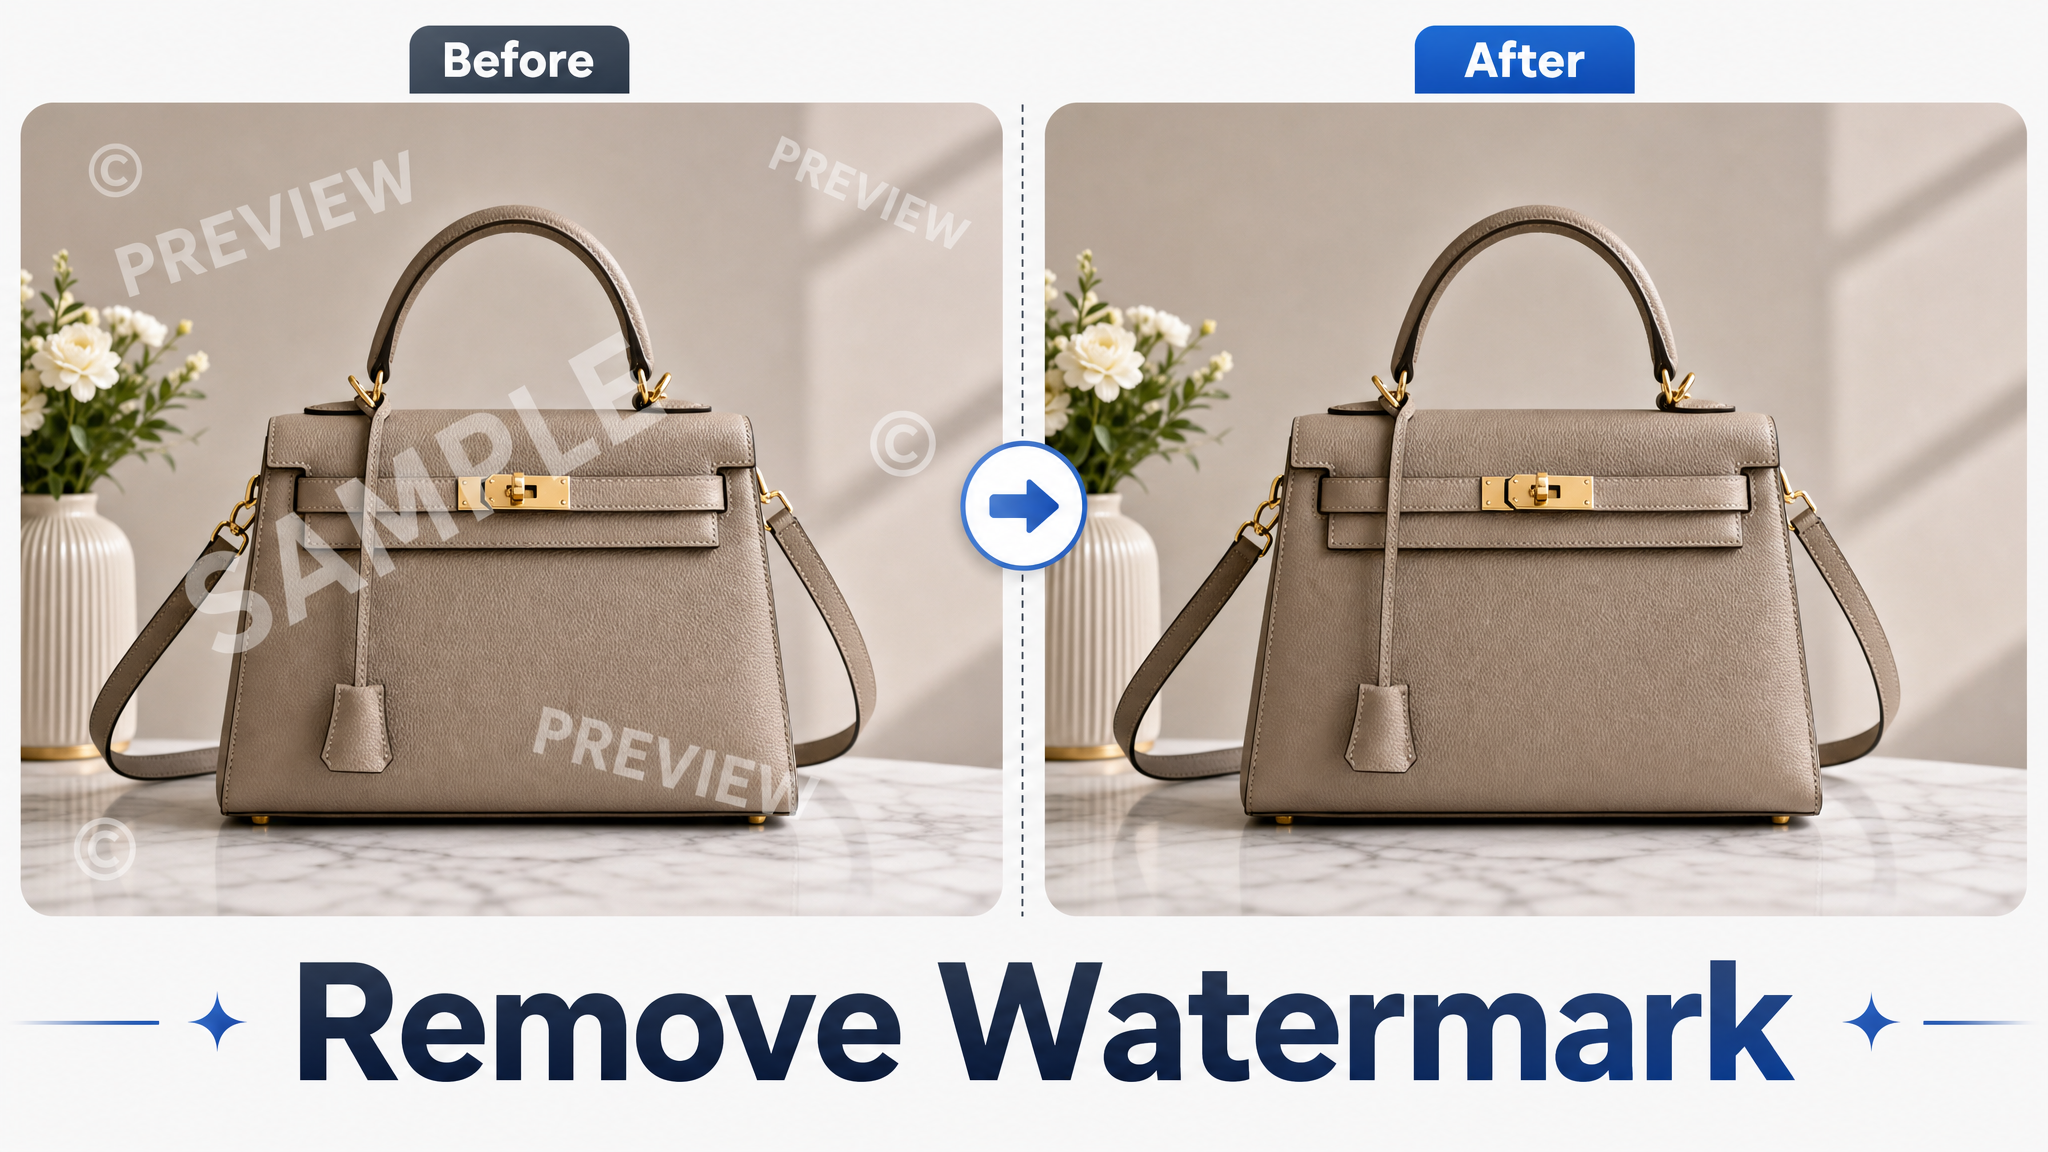
Remove a watermark from an image original photo
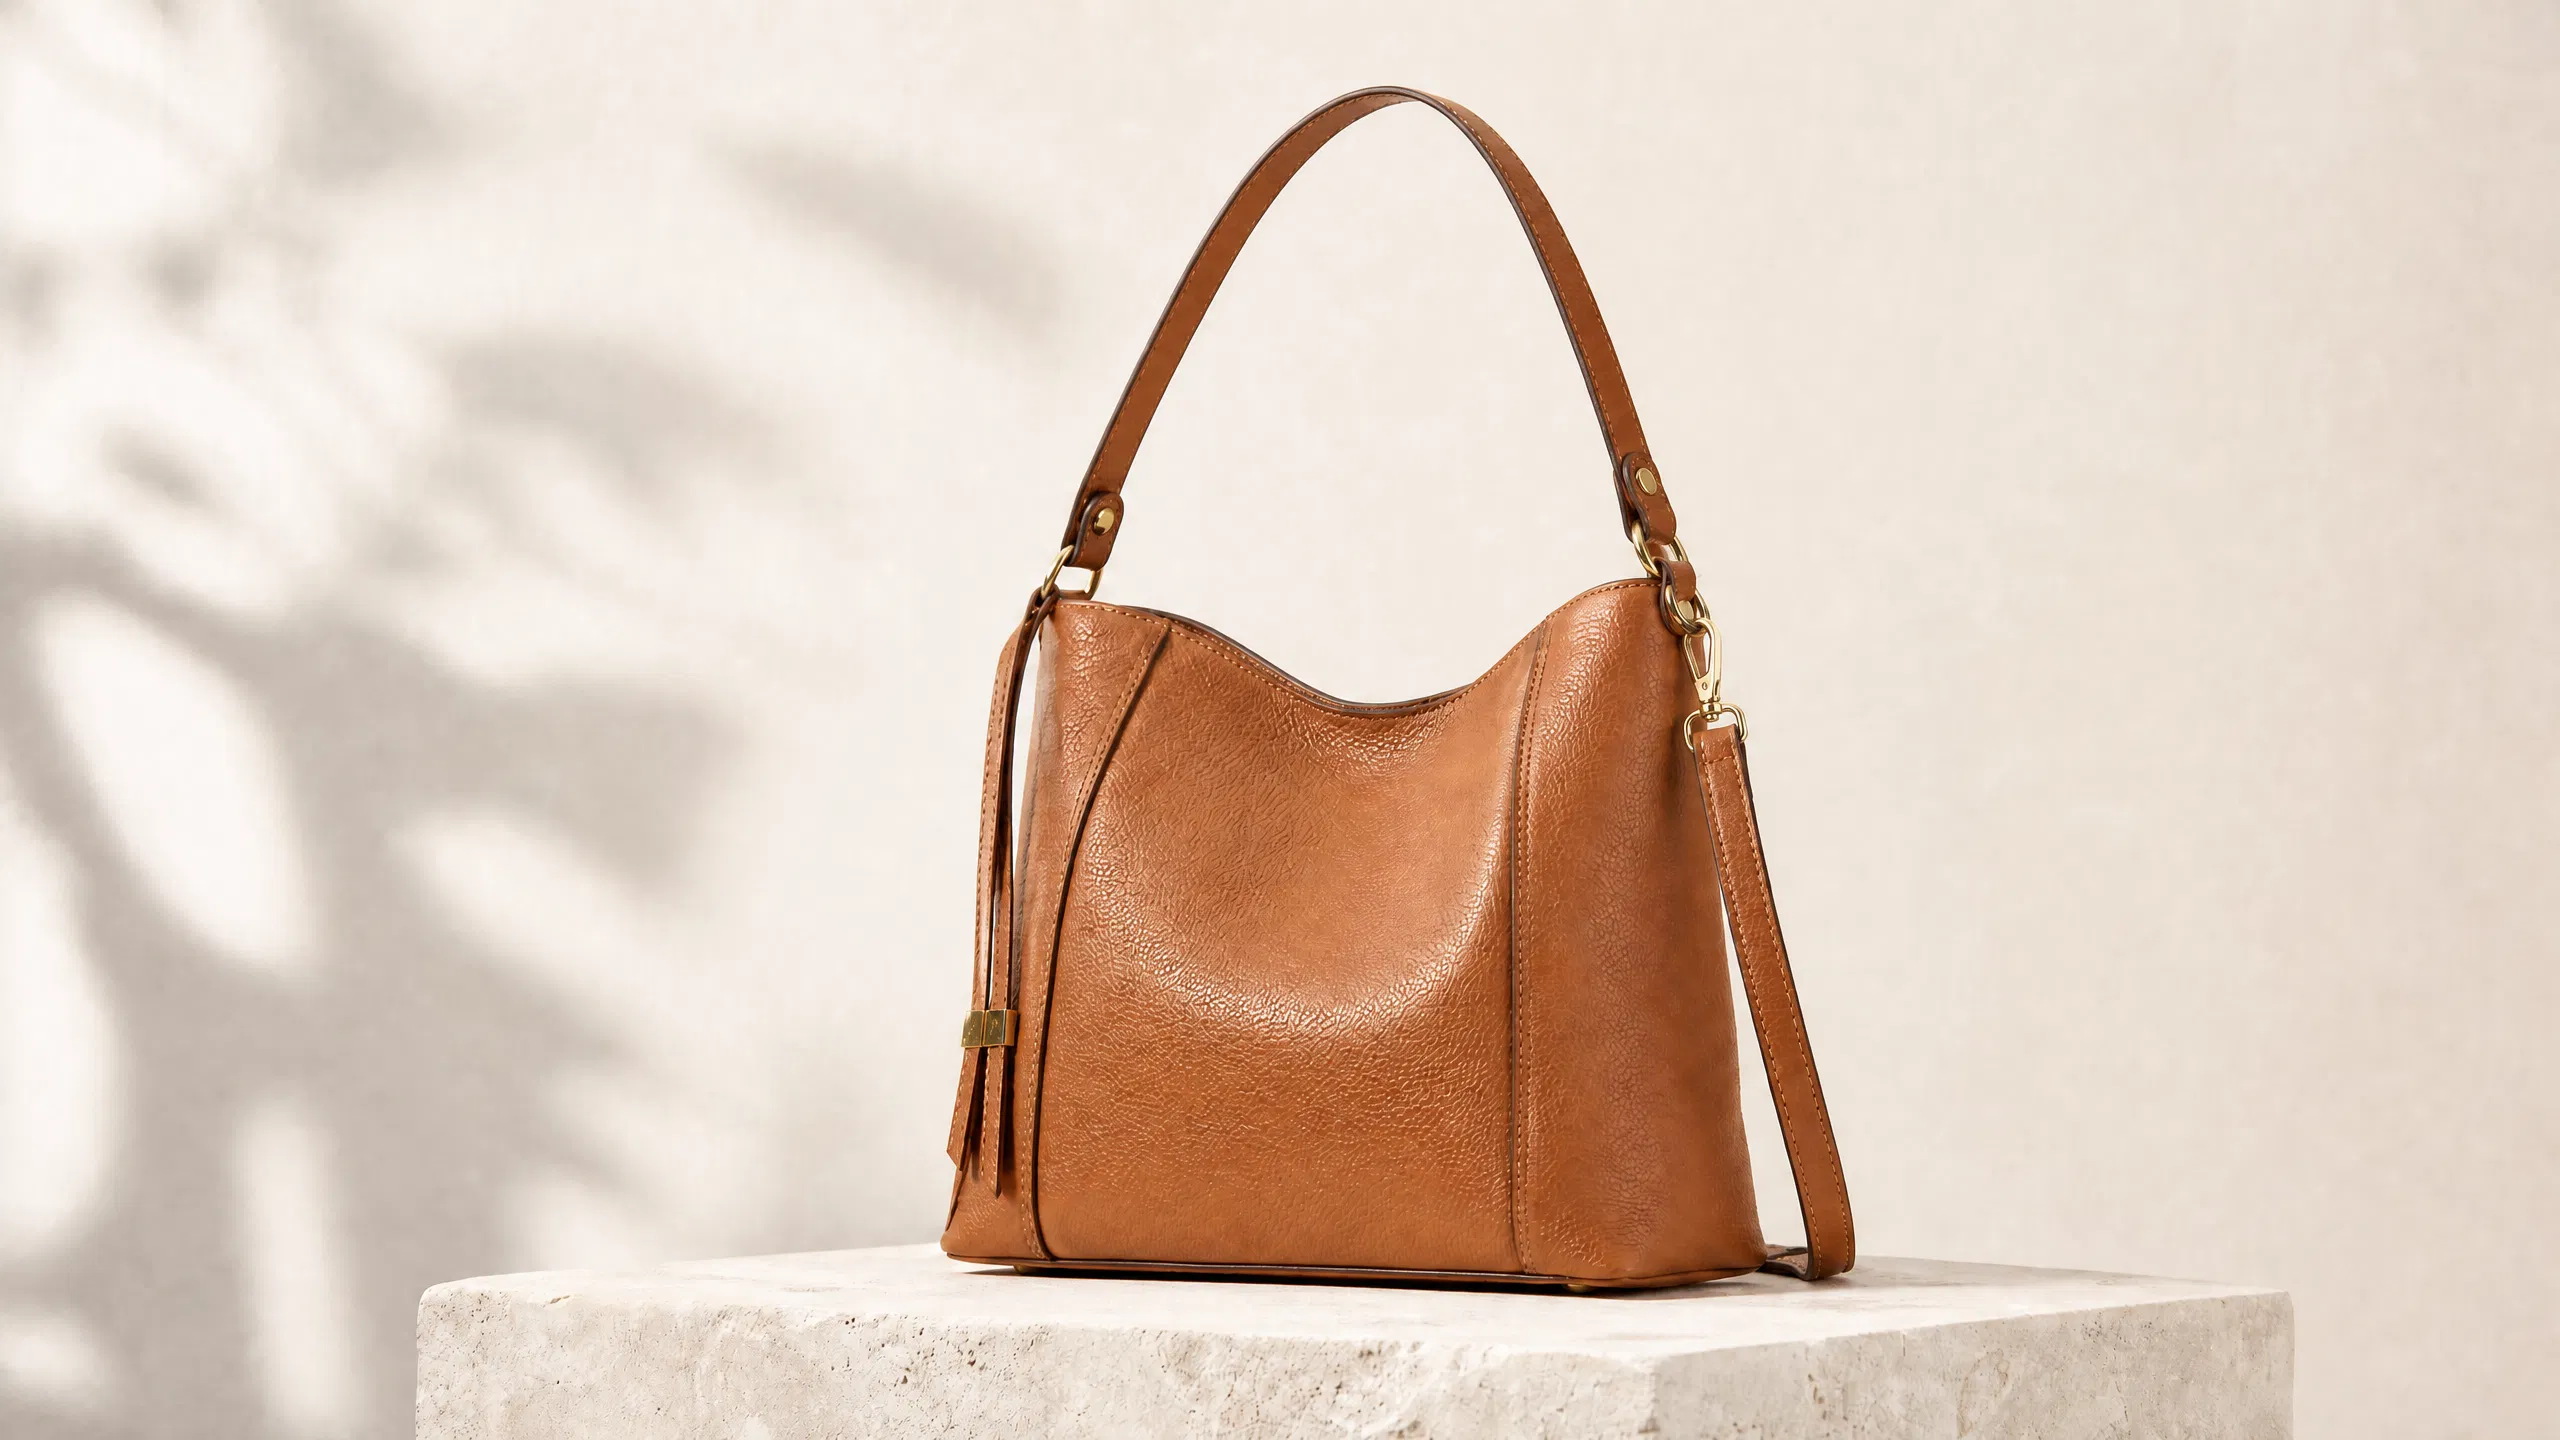
Remove a watermark from an image cleaned result

Remove a watermark from an image

The watermark is cleared from the authorized product photo while the handbag, background, and soft shadows stay intact.

  • Select the full watermark, including faint edges.
  • Keep the product shape, texture, and color.
  • Use only images you own or have permission to edit.

Three simple steps

How to remove something from a photo

  1. 01

    Upload the original

    Choose the highest-quality JPG, PNG, or WebP file you have. Keeping the full frame gives the repair more useful context.

  2. 02

    Brush over the unwanted part

    Cover the object and a small edge around it. Use a smaller brush near faces, text, or product details you want to keep.

  3. 03

    Compare and download

    Review the repaired texture, color, and outline. Retry a small area if needed, then save the result as a separate file.

Questions before you start

AI object remover questions and answers

Upload a photo and remove the distraction

Upload an image, brush over what you do not want, and compare the cleaned result with the original.