

See the difference

AI Object Remover Before and After Examples

Compare the original photo with the cleaned result. Each example focuses on a familiar task and shows the details worth checking before you download: edges, shadows, brightness, texture, and nearby subjects.

How to review an AI object remover example

One original photo

The before and after view uses the same image, so you can see exactly what changed.

The brush area matters

The selected area shows what was removed and whether the edge included a shadow or outline.

Check the whole result

Look for bright patches, broken lines, leftover marks, and changes near the selected area.

Remove an unwanted object from a bright studio scene original photo
Remove an unwanted object from a bright studio scene cleaned result

Remove an unwanted object from a bright studio scene

The distracting objects disappear while the store window, reflections, and product light stay visible. Drag the divider to check the complete selected area.

Use the example as a guide for your own photo: select the full unwanted part, include its visible edge, and compare the cleaned background before saving.

Open the ai object removal page


Remove text from a product photo original photo
Remove text from a product photo cleaned result

Remove text from a product photo

The printed words disappear while the product, cloth, flowers, and warm table shadows stay part of the original scene.

Use the example as a guide for your own photo: select the full unwanted part, include its visible edge, and compare the cleaned background before saving.

Open the text removal page
Remove a passerby from a travel photo original photo
Remove a passerby from a travel photo cleaned result

Remove a passerby from a travel photo

The background person is removed while the main subject, ground, waterfront, and buildings remain in the frame.

Use the example as a guide for your own photo: select the full unwanted part, include its visible edge, and compare the cleaned background before saving.

Open the person removal page
Remove a logo from an owned product photo original photo
Remove a logo from an owned product photo cleaned result

Remove a logo from an owned product photo

The logo is cleaned from the authorized image while the product material, edges, and soft shadows stay clear.

Use the example as a guide for your own photo: select the full unwanted part, include its visible edge, and compare the cleaned background before saving.

Open the logo removal page
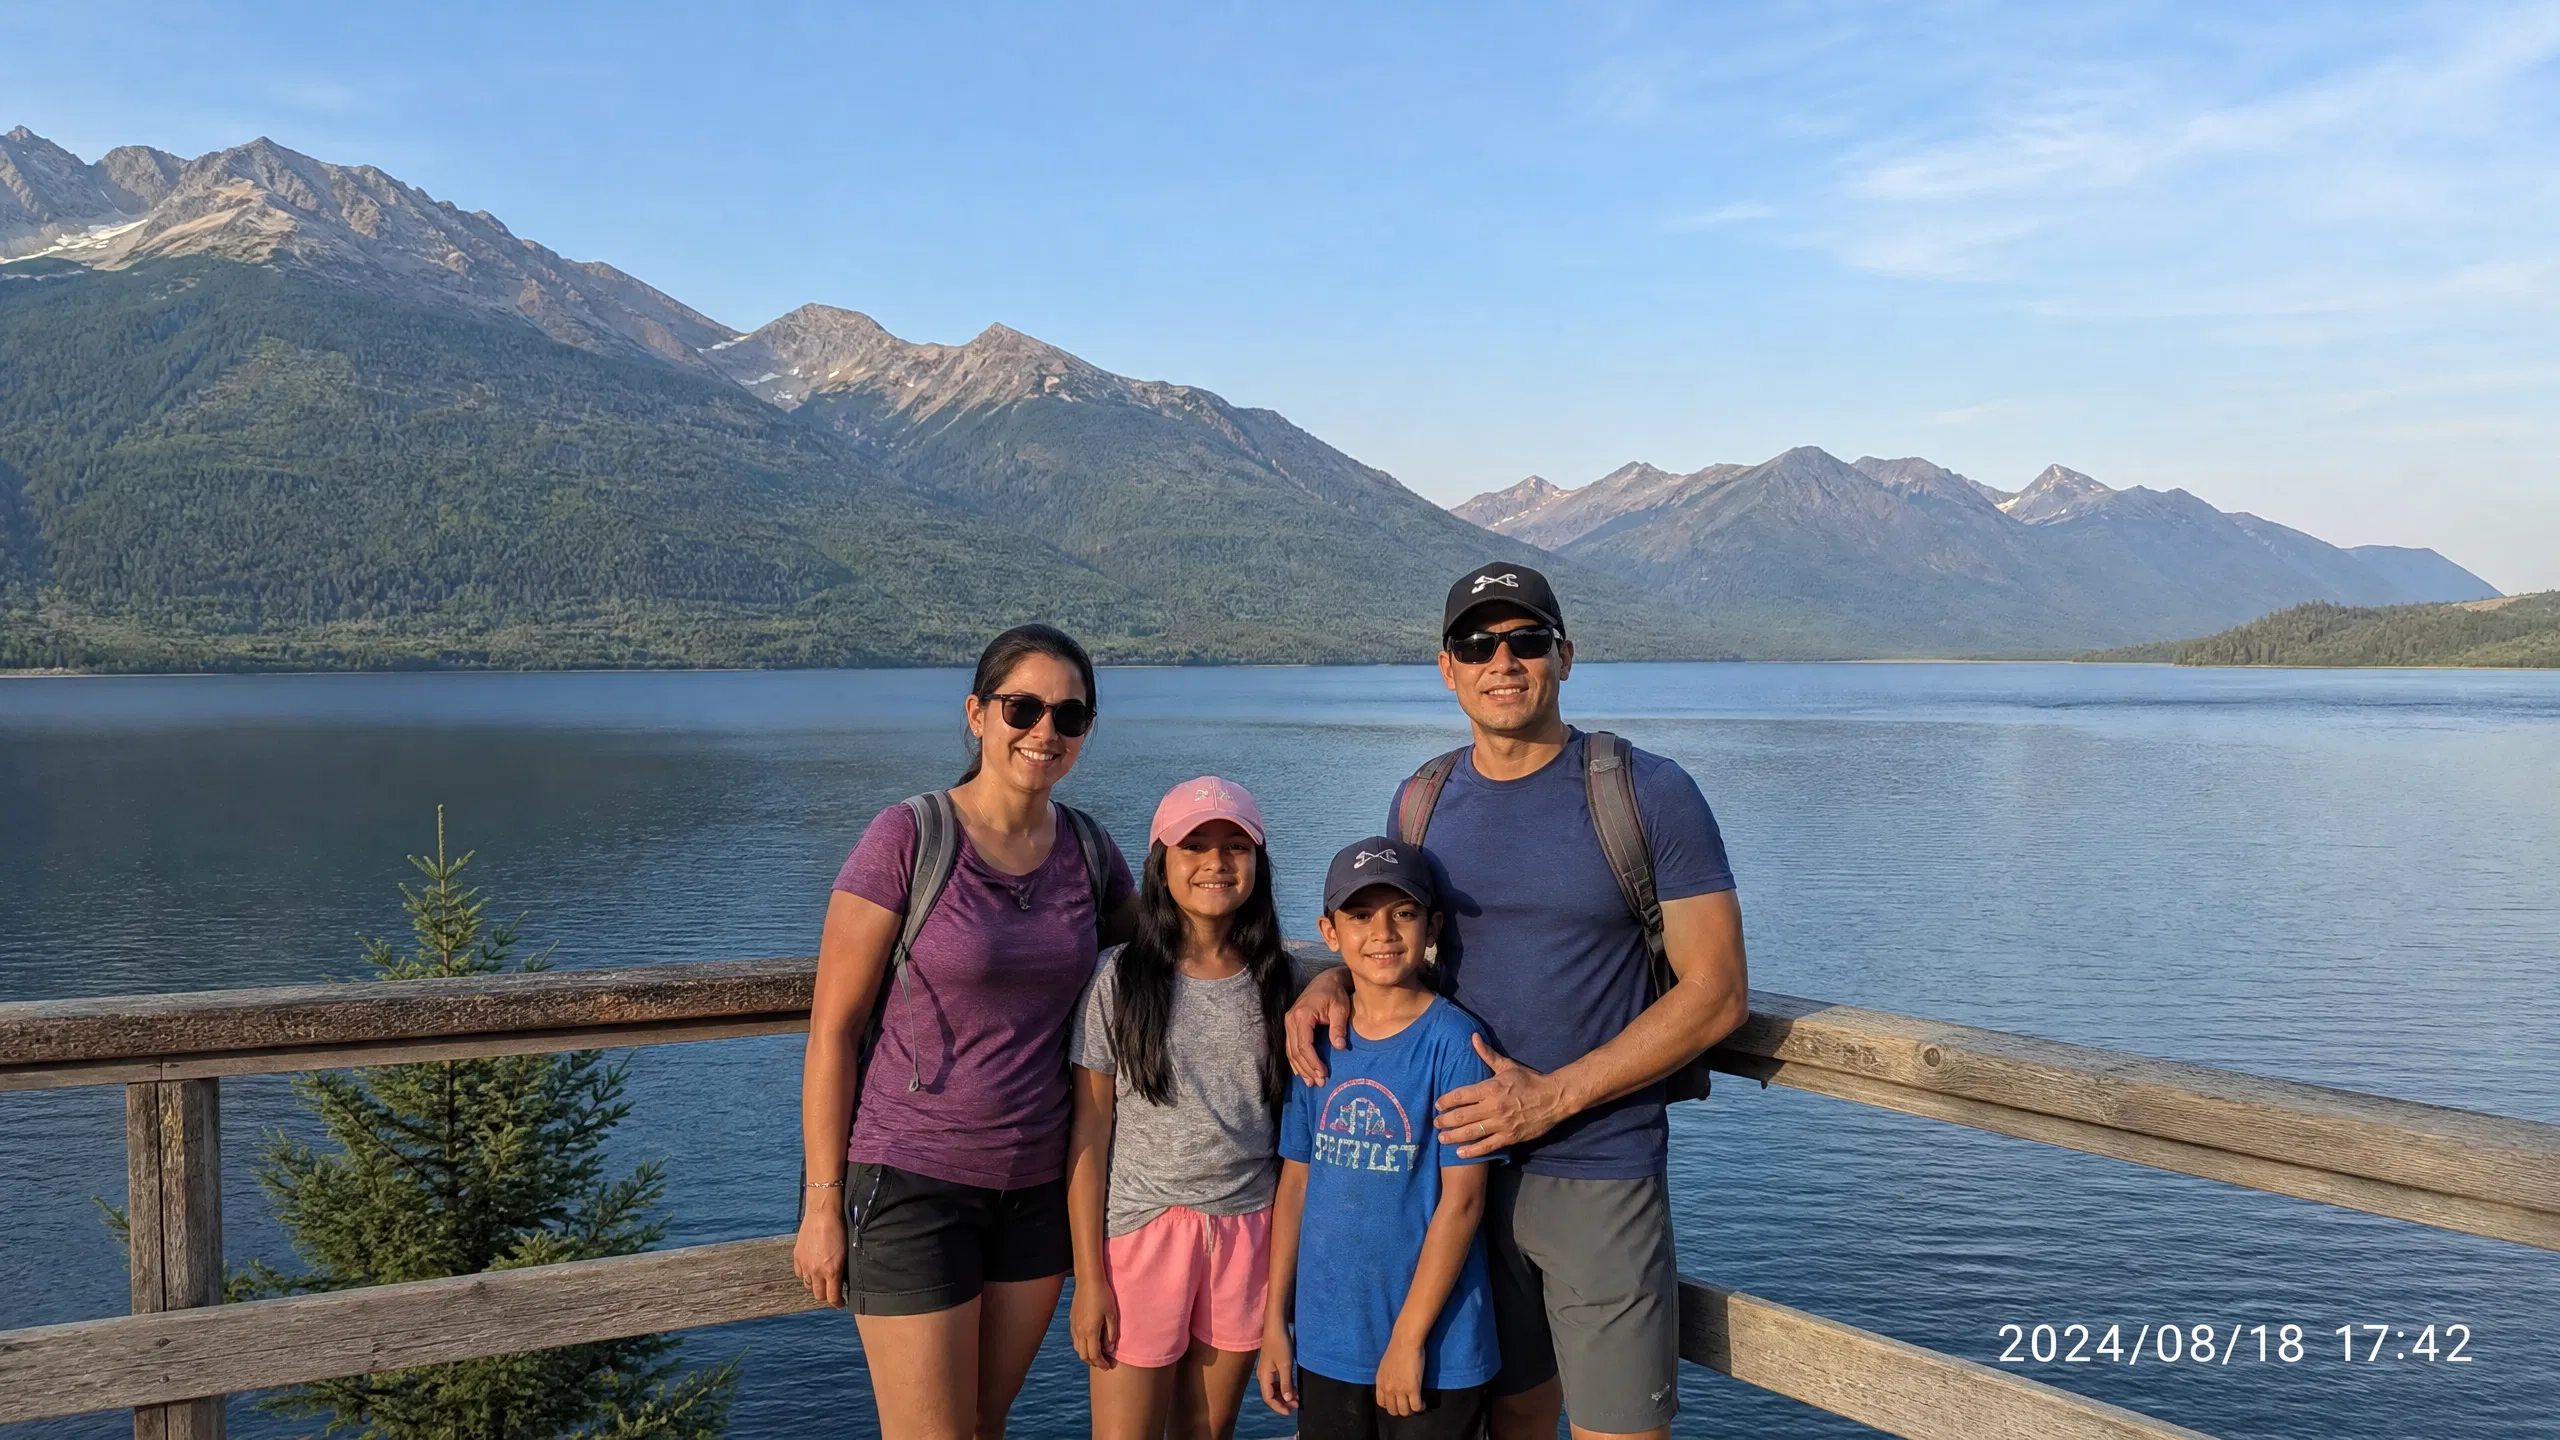
Remove a date stamp from a landscape photo original photo
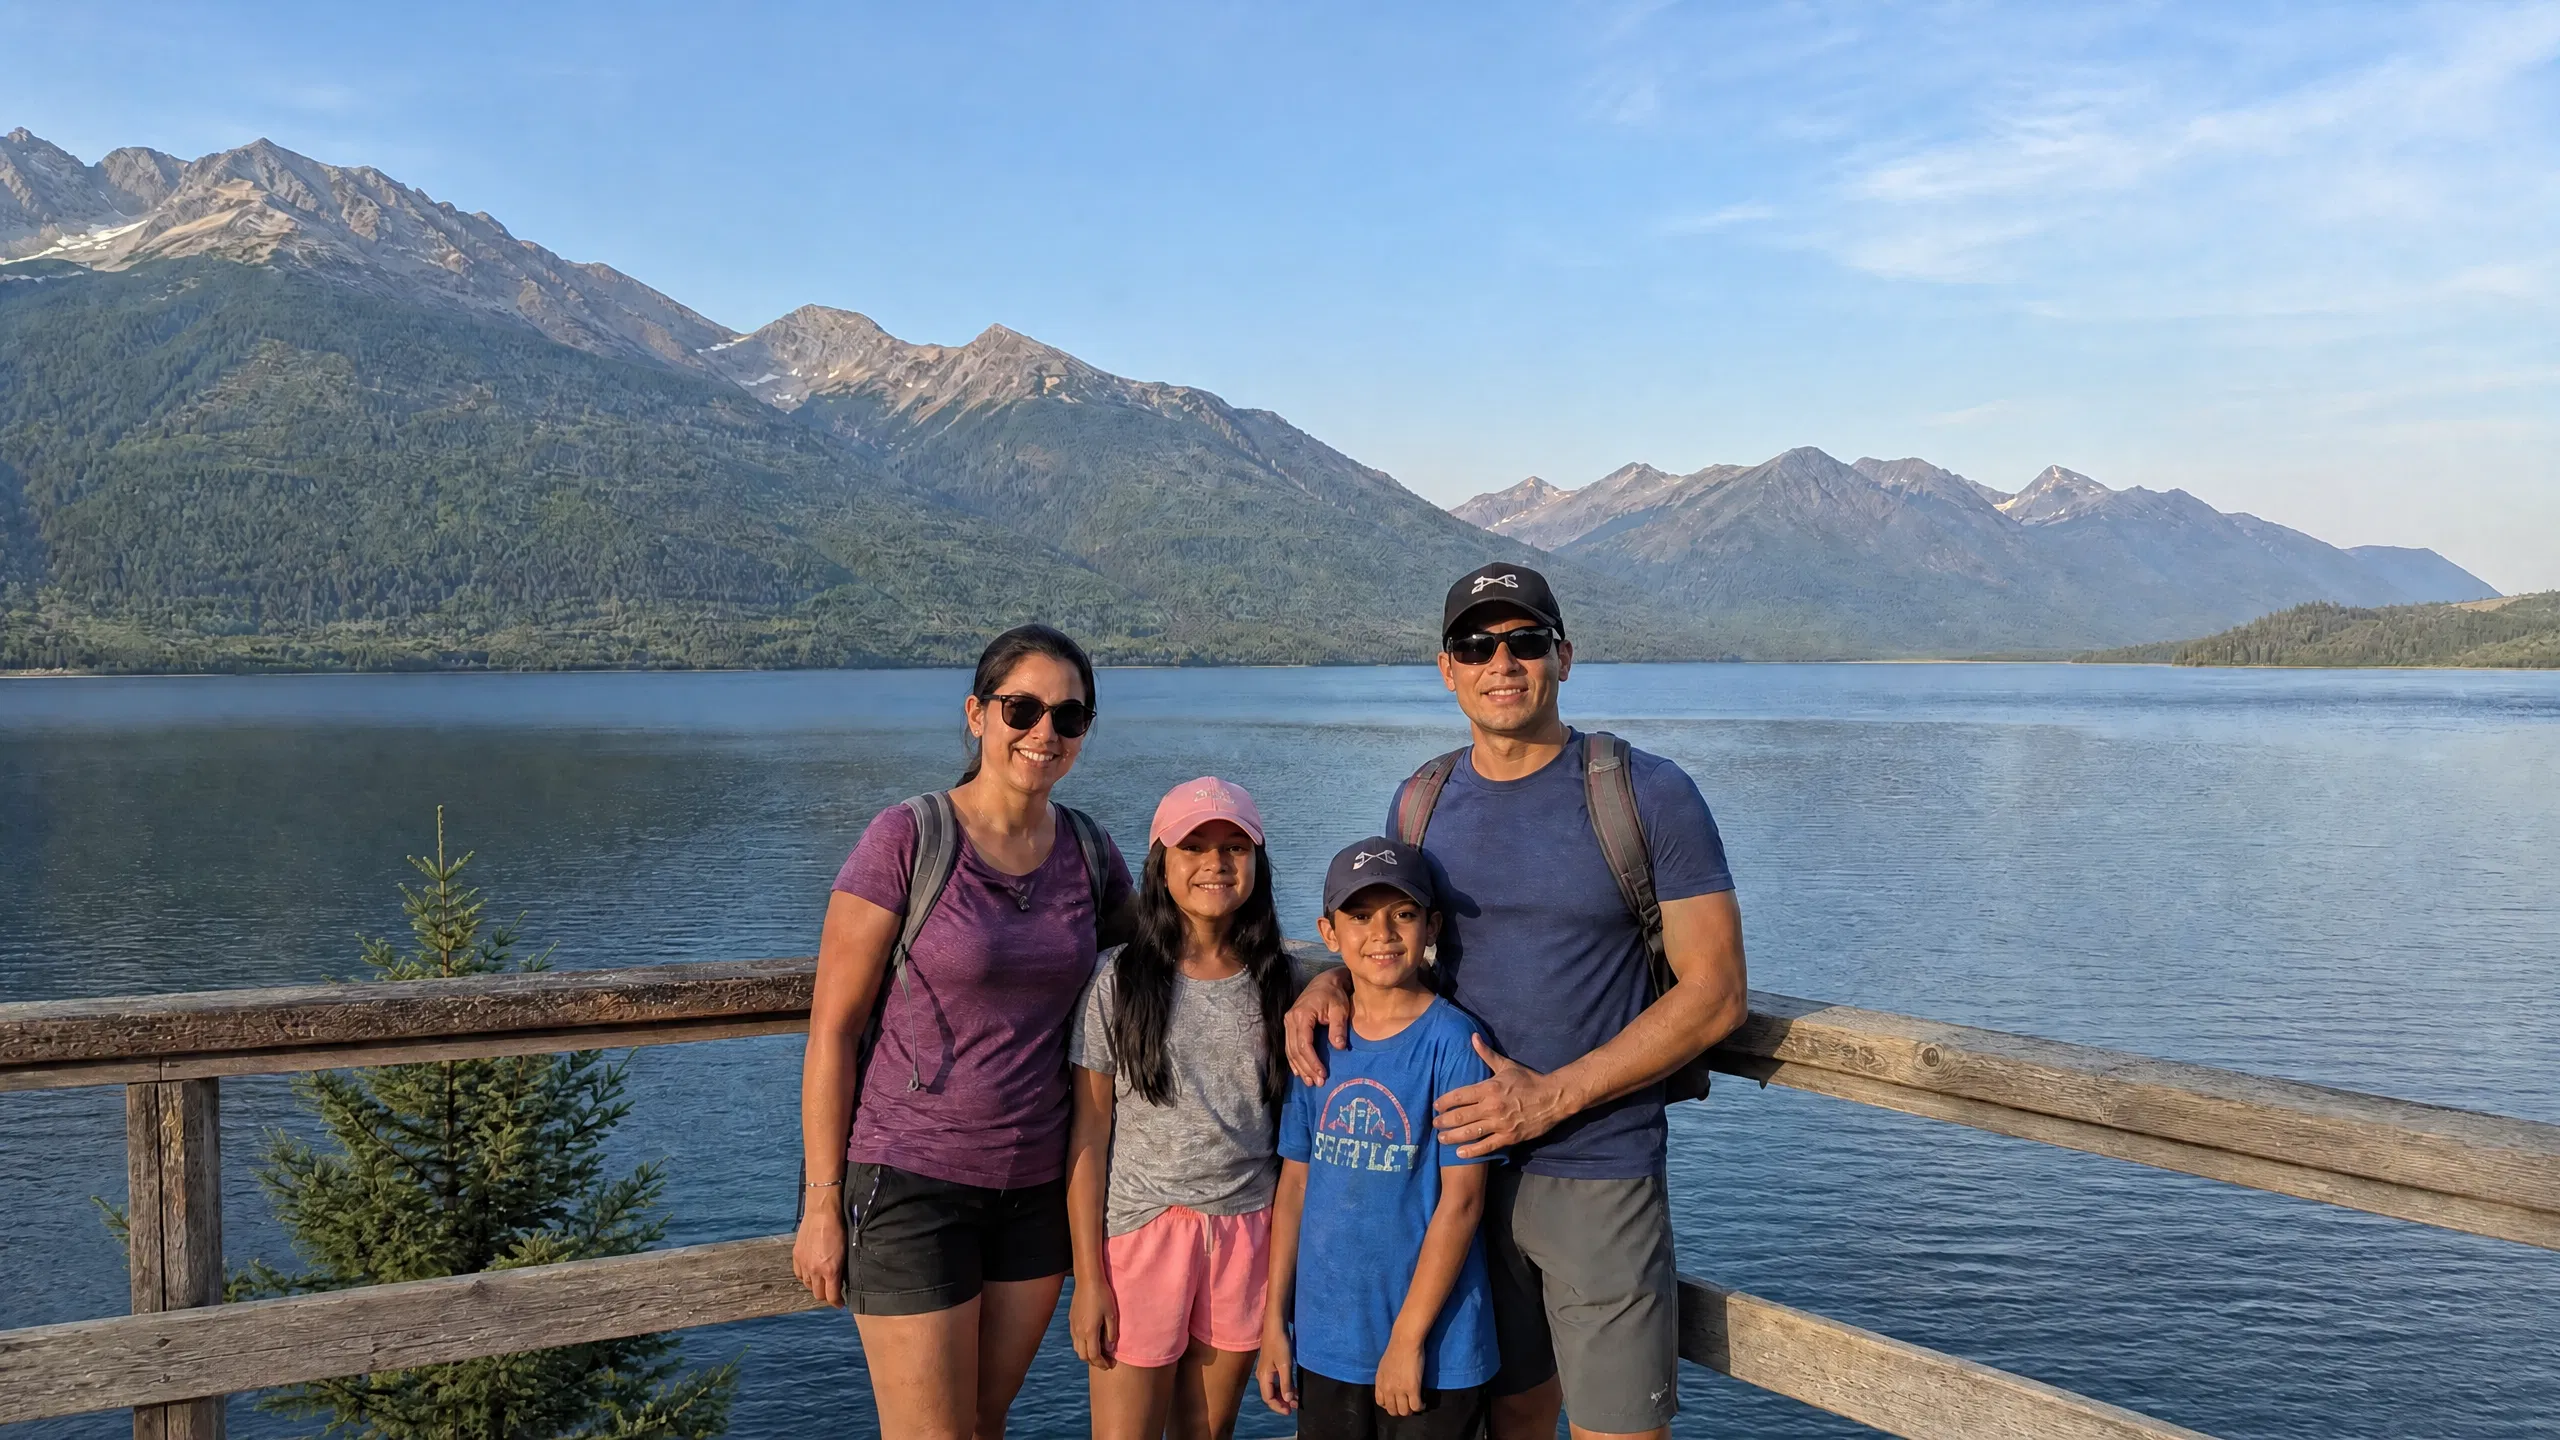
Remove a date stamp from a landscape photo cleaned result

Remove a date stamp from a landscape photo

The camera date disappears while the mountain, clouds, lake, and natural colors remain visible in the cleaned copy.

Use the example as a guide for your own photo: select the full unwanted part, include its visible edge, and compare the cleaned background before saving.

Open the date stamp removal page
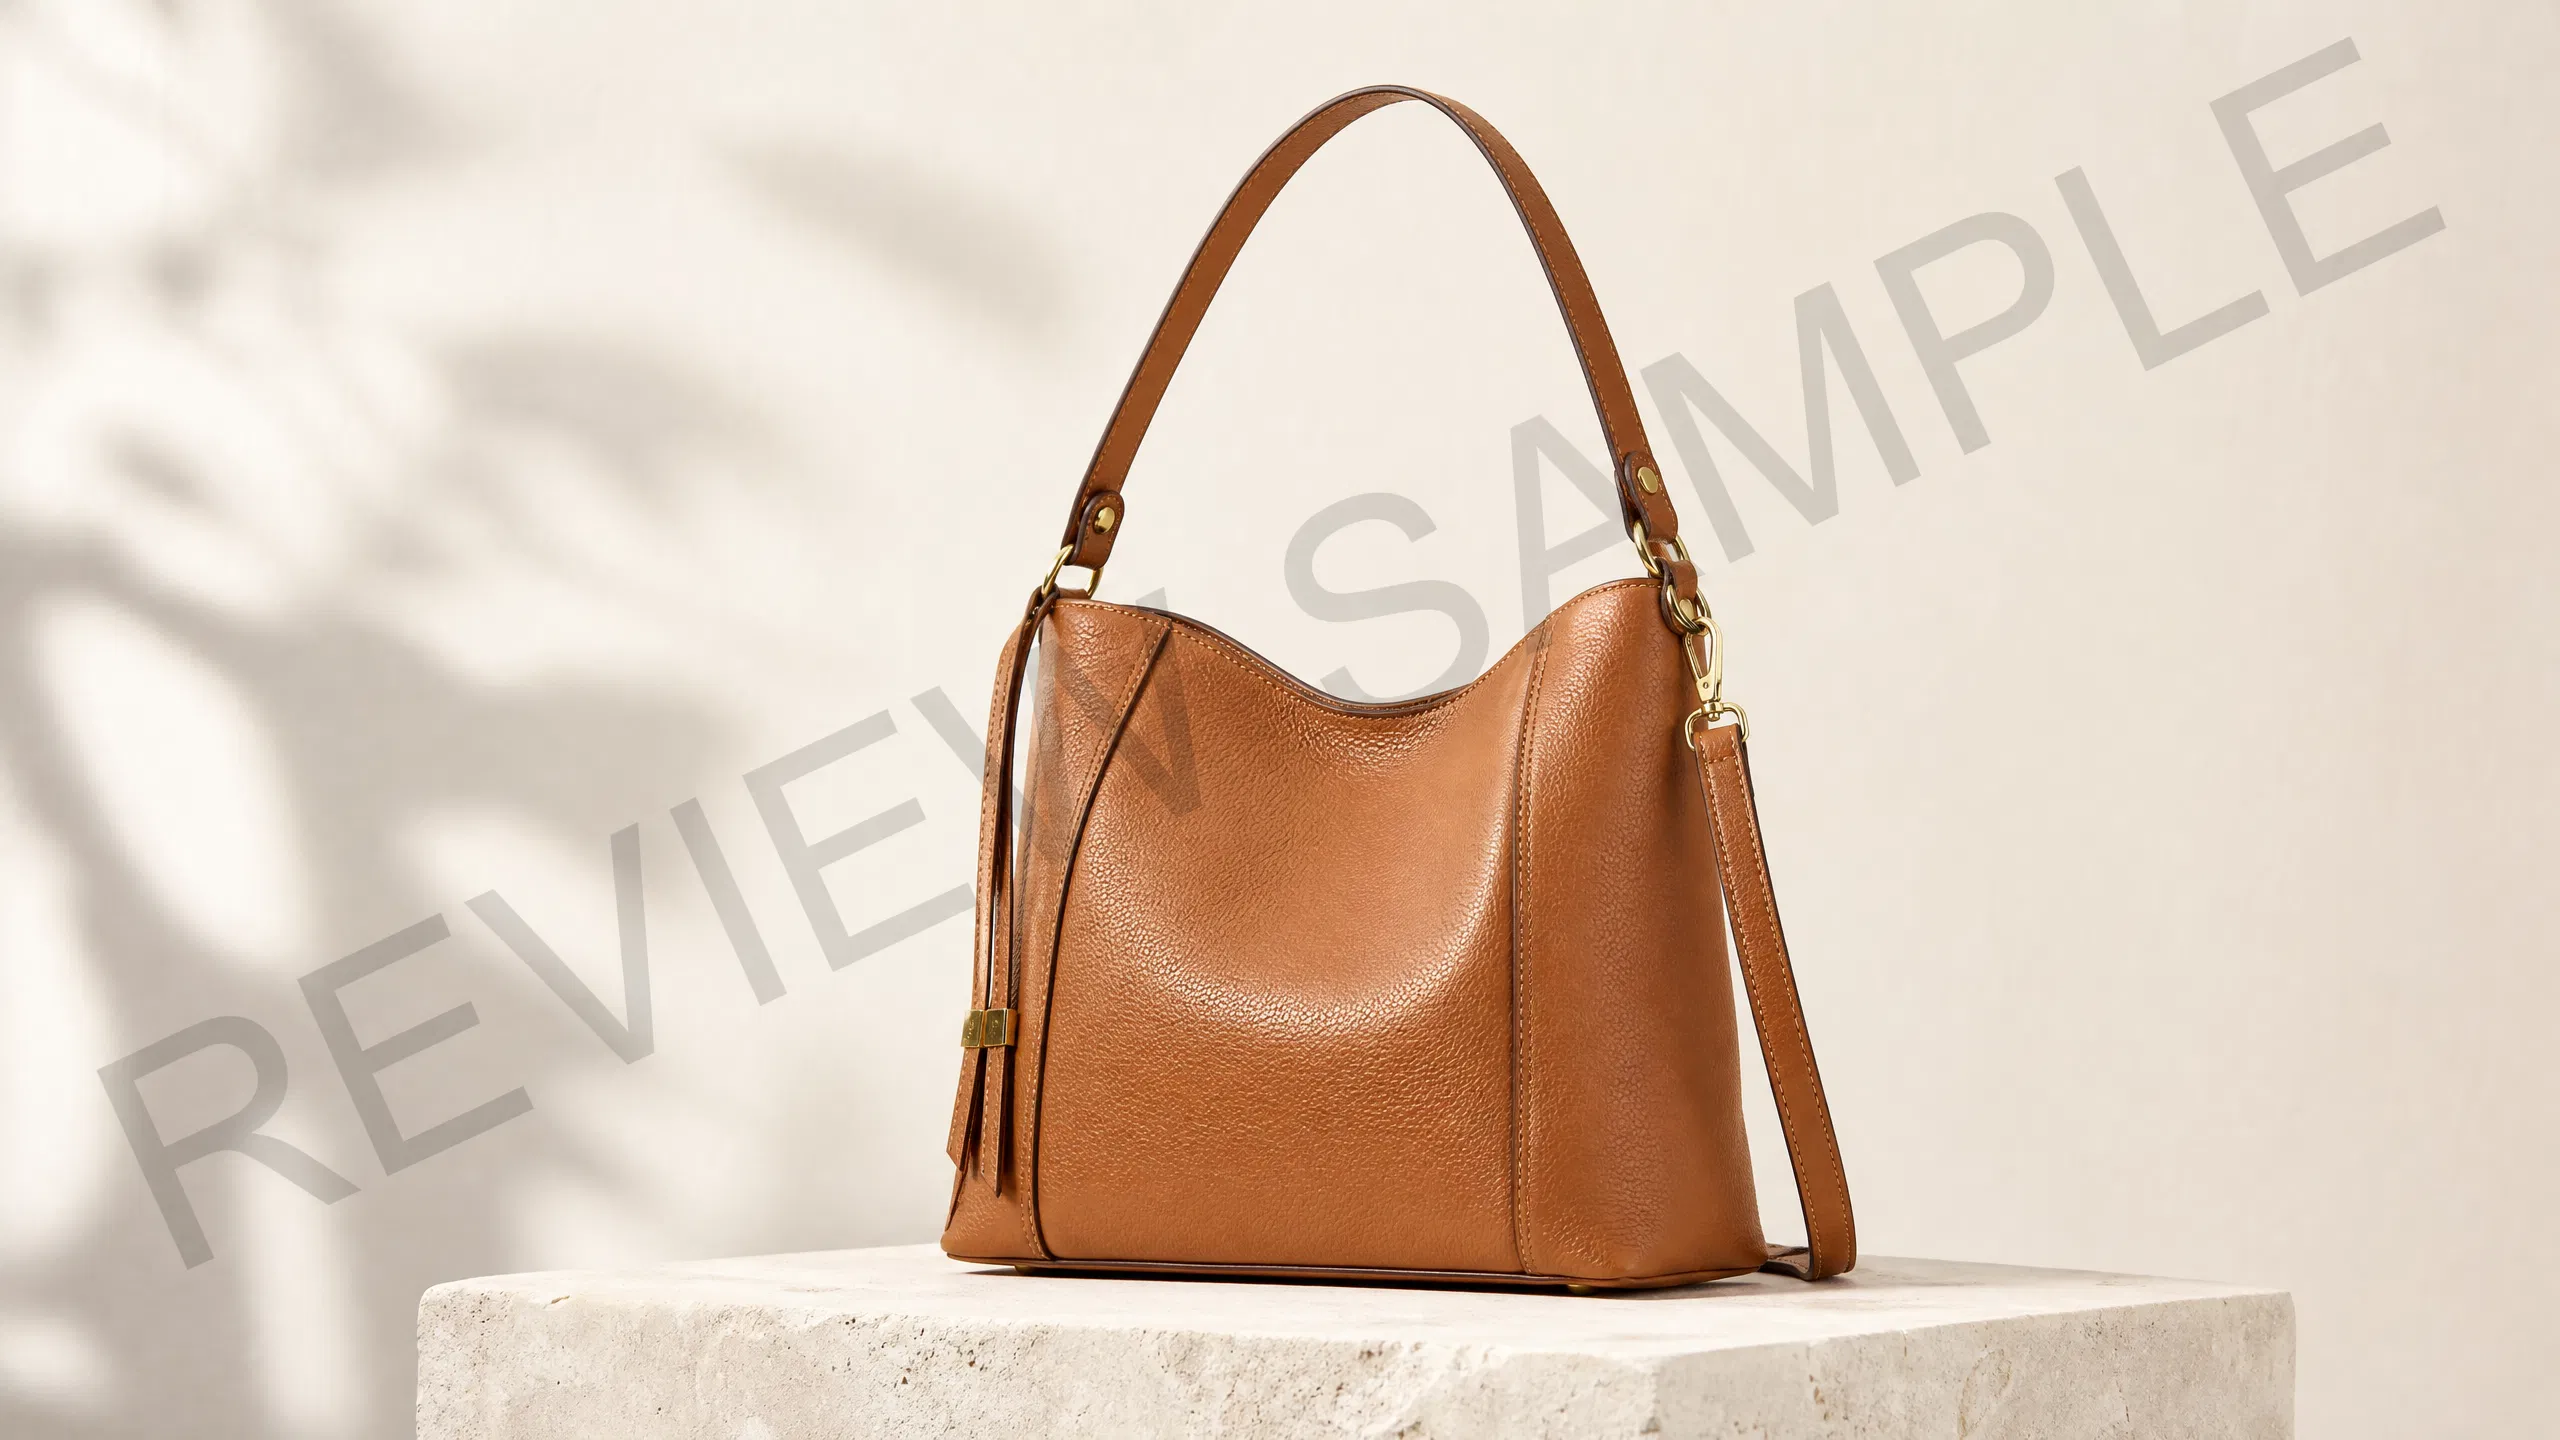
Remove a watermark from an authorized product photo original photo
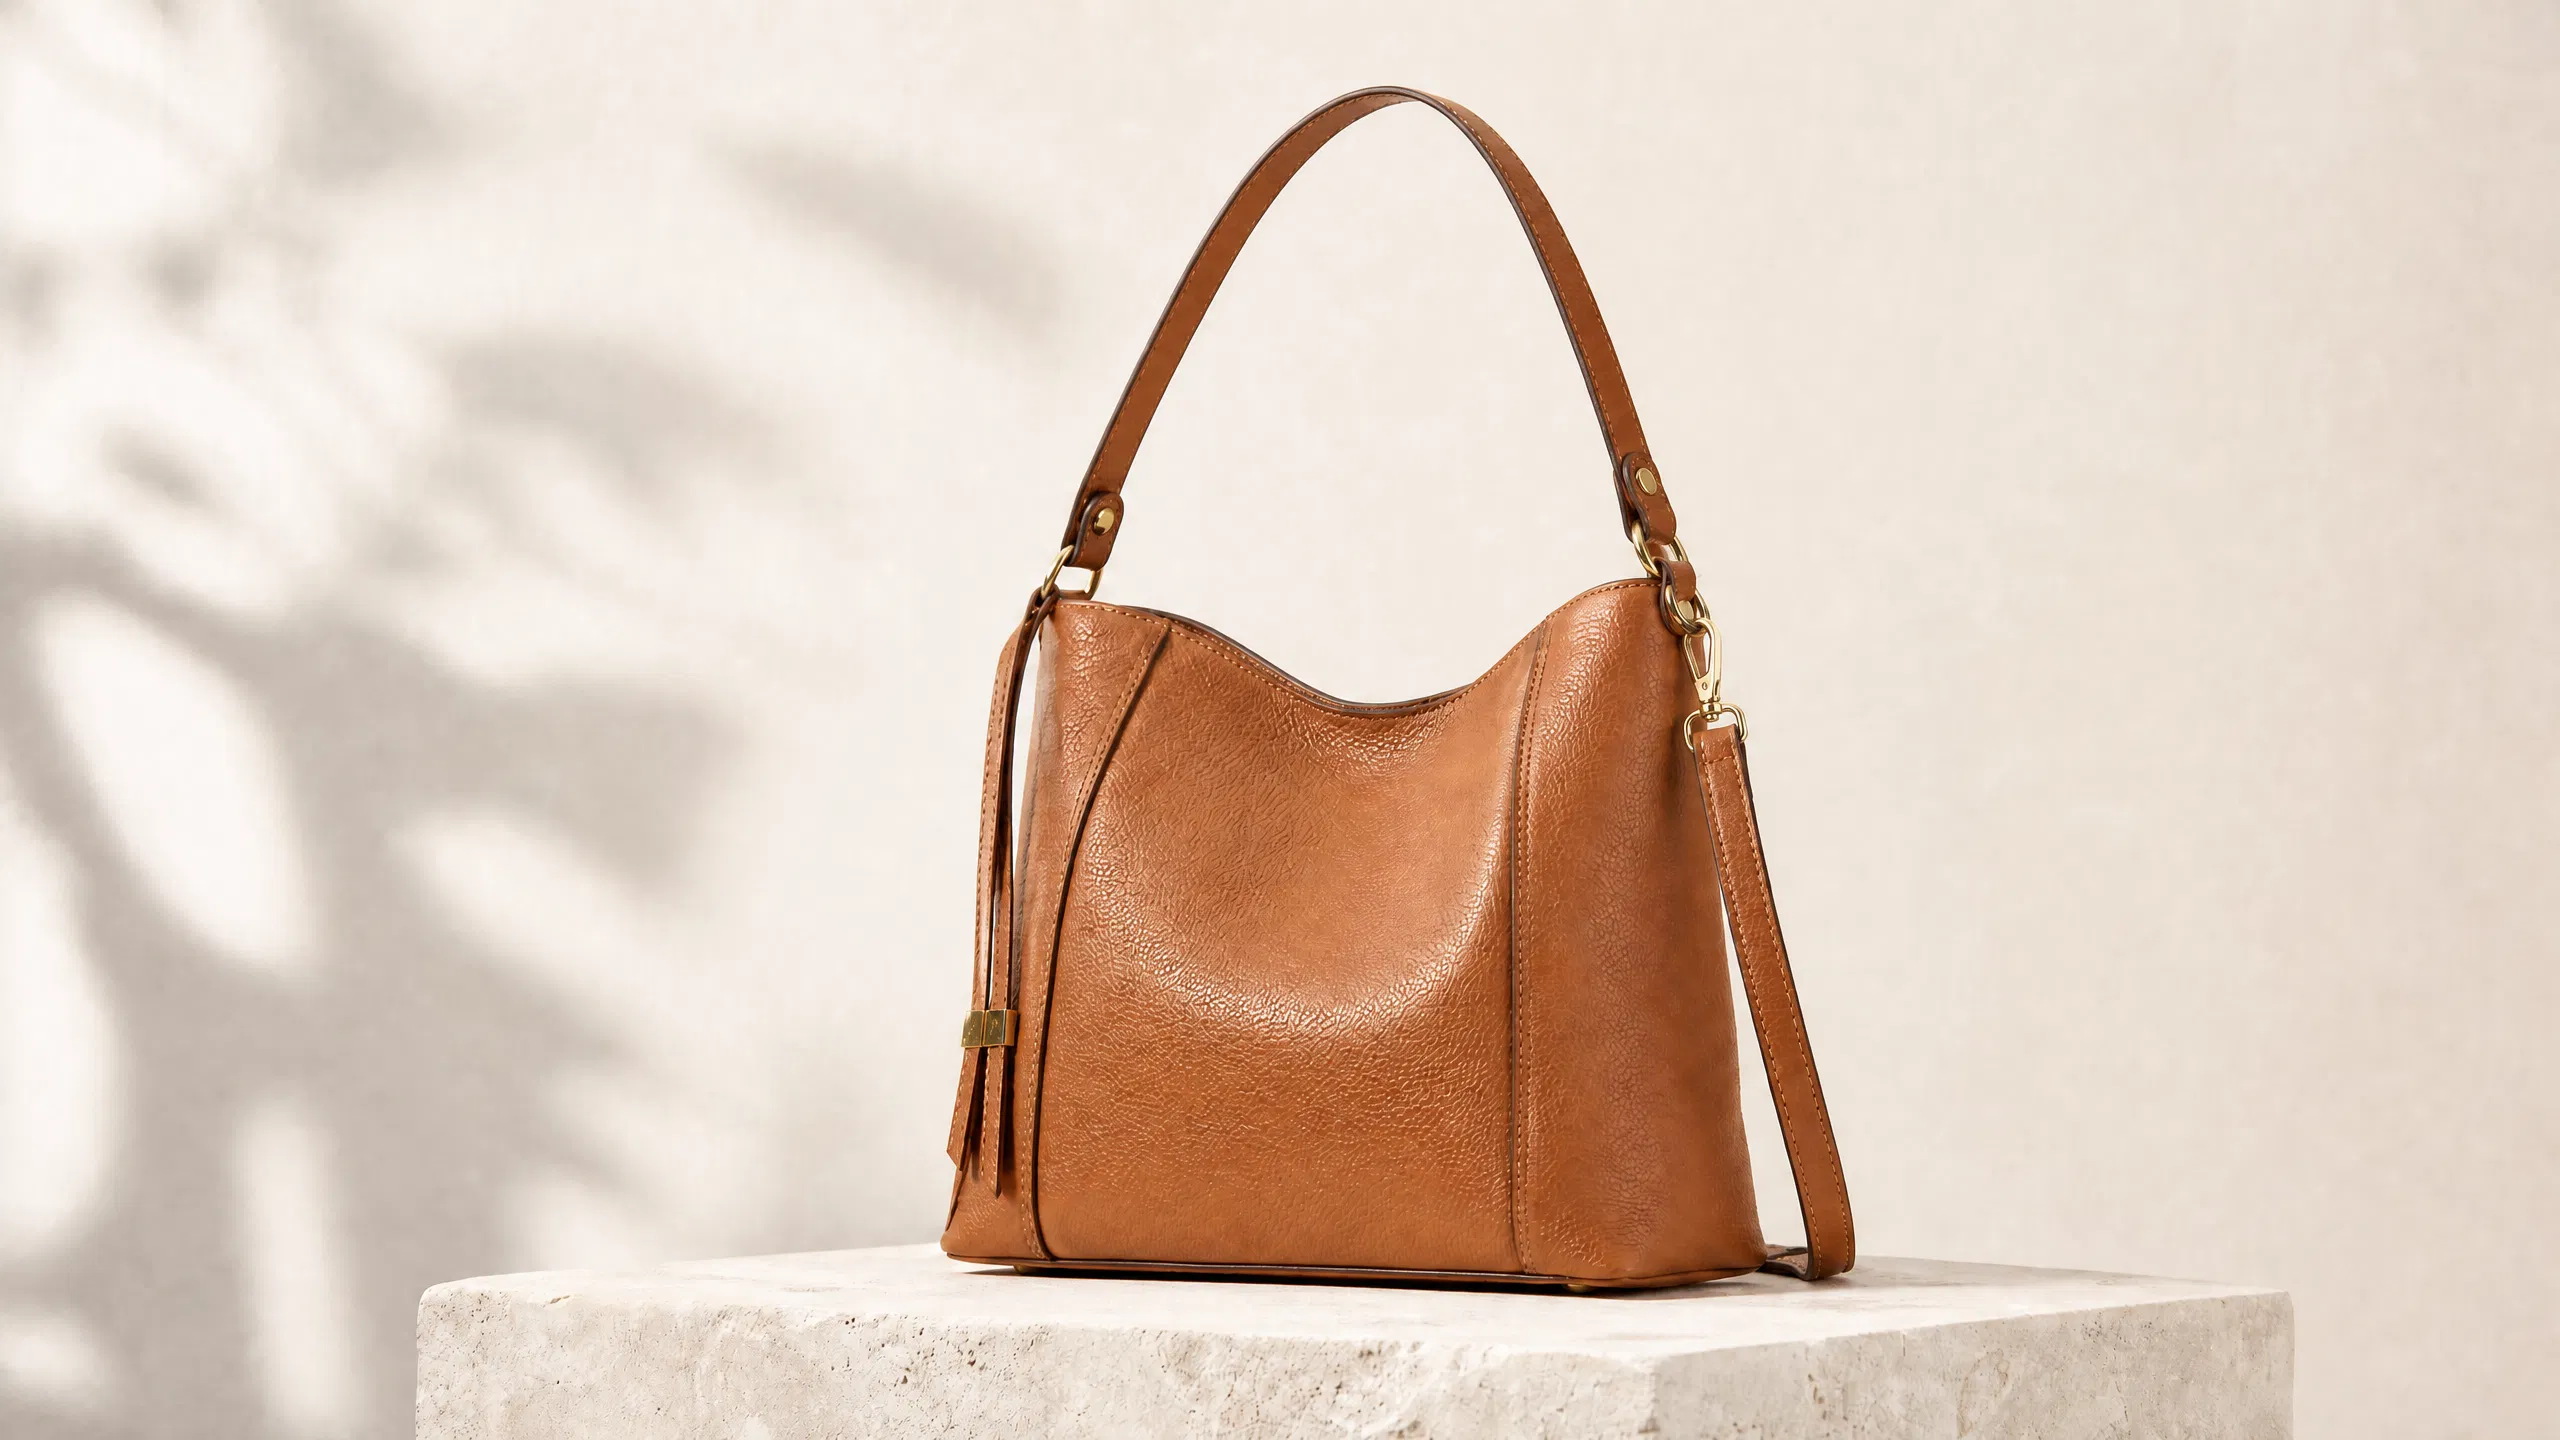
Remove a watermark from an authorized product photo cleaned result

Remove a watermark from an authorized product photo

The watermark is cleared while the product, background color, edges, and soft shadows stay intact.

Use the example as a guide for your own photo: select the full unwanted part, include its visible edge, and compare the cleaned background before saving.

Open the watermark removal page

Example questions

How to compare photo removal results

A useful example shows more than a vanished object.

The removed person, word, or logo is only half of the result. Check whether the background color, texture, shadow, and straight lines continue naturally around the cleaned area.

These comparisons help you choose a good source photo and a brush selection that gives the cleanup enough surrounding detail.

EvidenceWhat it provesWhat to check
Original photoWhere the edit startsClear detail around the unwanted part
Brush areaWhat should disappearEdges, shadows, outlines, fragments
Cleaned photoThe result you can saveBrightness, texture, lines, nearby detail
Your final checkWhether it is ready to useNormal size, close-up, intended use

A difficult result is still valuable evidence

A person overlapping another face, text across a detailed illustration, or a logo covering product lettering may need a smaller selection, another pass, or a different photo.

Simple backgrounds and difficult edges

  • Text on a flat background, soft texture, or object edge.
  • A distant passerby, full-body subject, or overlapping person.
  • A compact logo, authorized watermark, or orange date stamp.
  • Table clutter, a street sign, or repeating architectural lines.

Start with a photo you already know well.